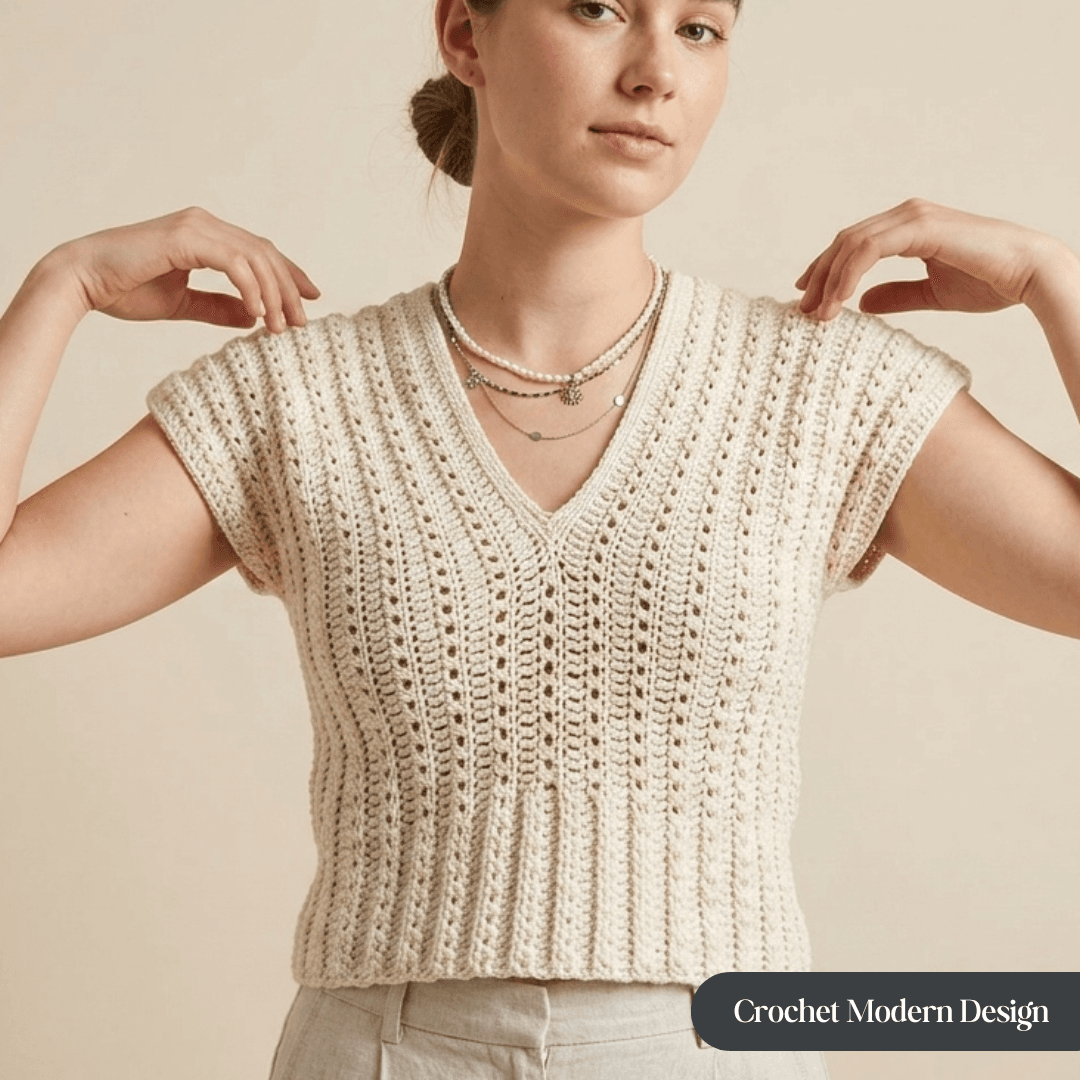
A flat-construction crochet top in XS–XL, worked in one piece with two simple repeating rows
If you’ve been waiting for a crochet top pattern that’s actually beginner-friendly — not “intermediate dressed up as beginner” — this is the one I designed for you. The Beginner Top is worked side-to-side as one flat piece, with just two rows you’ll alternate the whole way through. There’s a beautiful Cross V-Stitch texture that looks far more advanced than it is, and once you’ve got the rhythm of it, you can practically work this pattern on autopilot.
This is the full pattern, free, with all five sizes from XS to XL, troubleshooting, and finishing notes. If you’d rather have a printable PDF version (no ads, no scrolling, designed to print and crochet from on your lap) — there’s a polished ebook in my Etsy and WooCommerce shops, and a 60% welcome coupon below if you’d like to grab it.
Quick info
| Skill level | Beginner |
| Construction | Side-to-side, worked flat then seamed |
| Sizes | XS, S, M, L, XL |
| Yarn weight | DK / Light Worsted (#3) |
| Hook | 4mm (US G/6) |
| Gauge | 16 sts × 10 rows = 4″ / 10cm in double crochet |
| Time to make | Approx. 8–14 hours depending on size |
| Stitches you’ll use | ch, dc, hdc, sl st, BLO, Cross V-Stitch |
Why this pattern is special
I’ve been designing crochet patterns for a while now, and I’m pretty selective about what makes it into a published pattern. The Beginner Top is one I’m especially proud of because it solves a problem most beginner top patterns don’t — it teaches you a real garment construction technique without overwhelming you. Here’s why it works.
It’s worked side-to-side, not bottom-up.
Most crochet tops are made working in the round from the bottom up, or from a yoke down. Both are great — but they require shaping decreases or increases that intimidate a lot of beginners. This top sidesteps all of that. You work it side-to-side as one big flat rectangle with a slot in the middle for your neck, then you fold it in half and seam the sides. That’s it. The construction is so simple it almost feels like a trick the first time you try it on.
Two rows, repeated forever.
After the foundation chain and the setup row, the pattern is just two rows you alternate: a Cross V-Stitch row (which makes the textured pattern), and a double-crochet-in-back-loop row (which gives the fabric its lovely vertical drape). That’s the whole pattern. You’ll learn the rhythm in the first 4–6 rows and then it’s just calm, repetitive work — perfect for an audiobook or a movie.
The Cross V-Stitch looks expensive.
If you’ve never made a Cross V-Stitch before, it’s two half-double crochets that cross over each other — you skip a stitch, work an hdc in the next, then go back and work an hdc in the skipped stitch on top of the first. The result is a soft X-shaped texture that pulls the eye and makes a piece look like it took twice as long as it did. It’s also nicely stretchy, which gives the top a forgiving fit.
Five sizes, with a video walkthrough.
Sizes XS through XL with about 4–6 inches of positive ease, so the fit is relaxed and comfortable on the body without feeling oversized. And because I know reading a written pattern can feel like reading a foreign language when you’re new, I filmed a full video tutorial for this one. You can watch me make it stitch by stitch on YouTube before you start — link below.
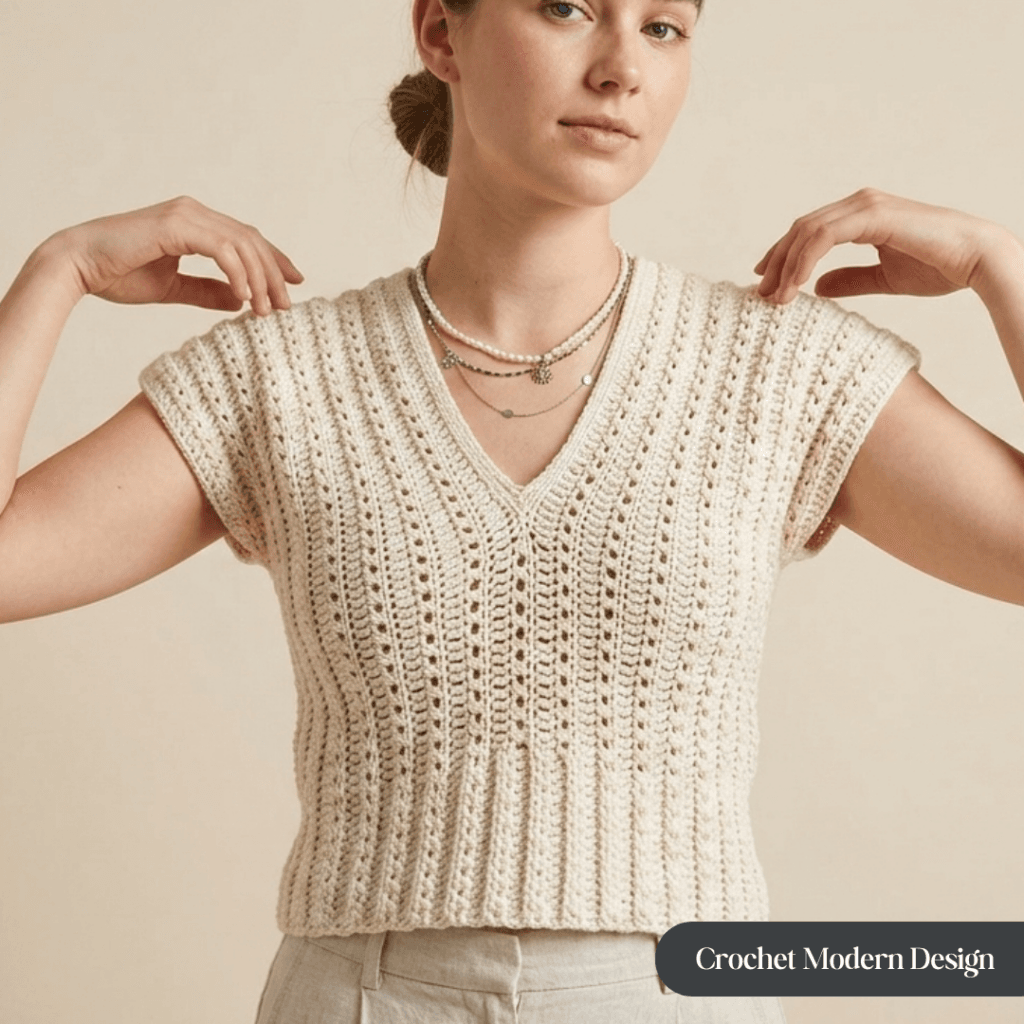
How to wear your crochet top
Because the construction is roomy and the fabric drapes softly, this top is one of those rare pieces that actually transforms with how you style it. A few of my favorites:
Tucked into high-waisted denim. The drapey fabric tucks beautifully into a high-rise jean or trouser. Add a belt and you’ve got a polished casual look. This is my everyday version.
Layered over a slip dress. In spring or fall, layer it loose over a slip dress with the hem peeking out underneath. Adds texture without bulk and works for dinners out or coffee dates.
With a midi skirt. The relaxed shape balances a fuller skirt — A-line, pleated, or satin all look good. Particularly nice in monochrome (top and skirt in similar tones).
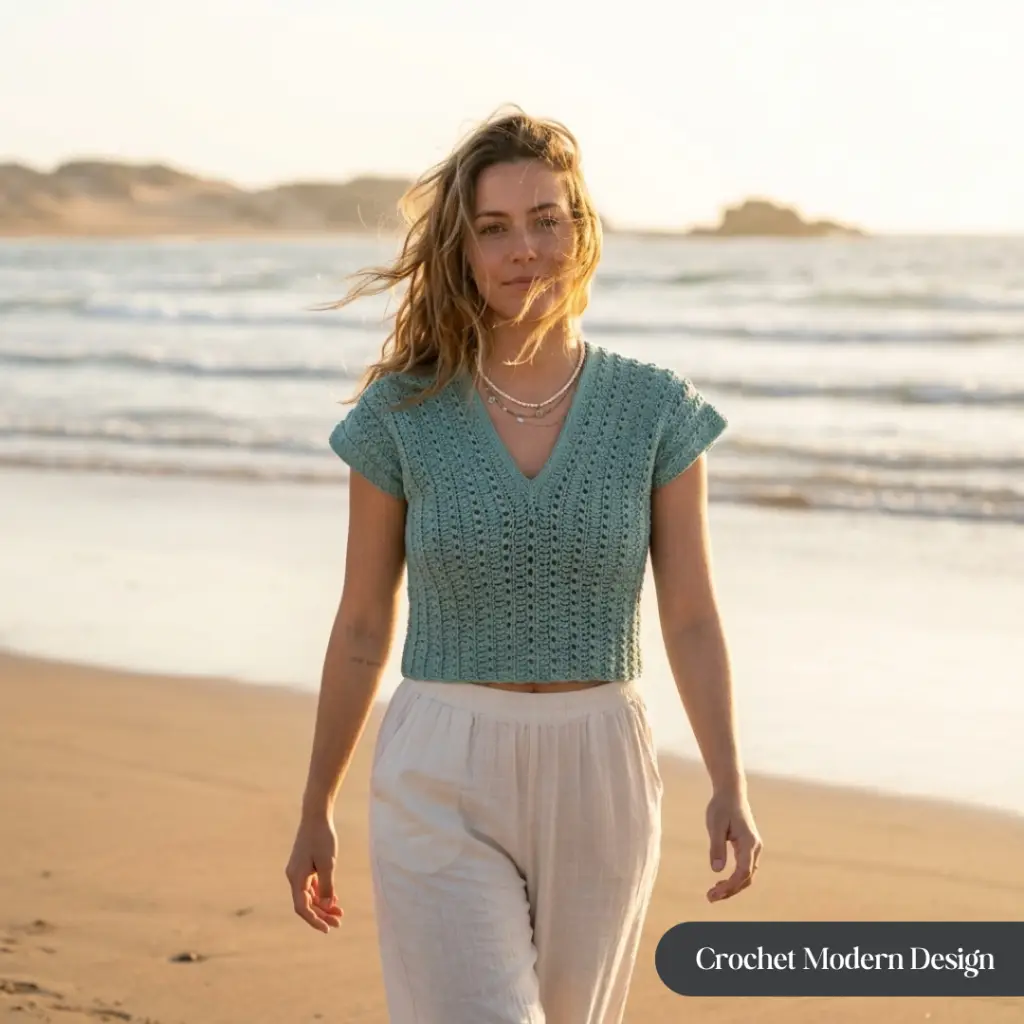
As a beach cover-up. In a cotton DK, this top makes a perfect lightweight cover-up over swimwear. Throw it on between the water and lunch and you’ll look intentional, not improvised.
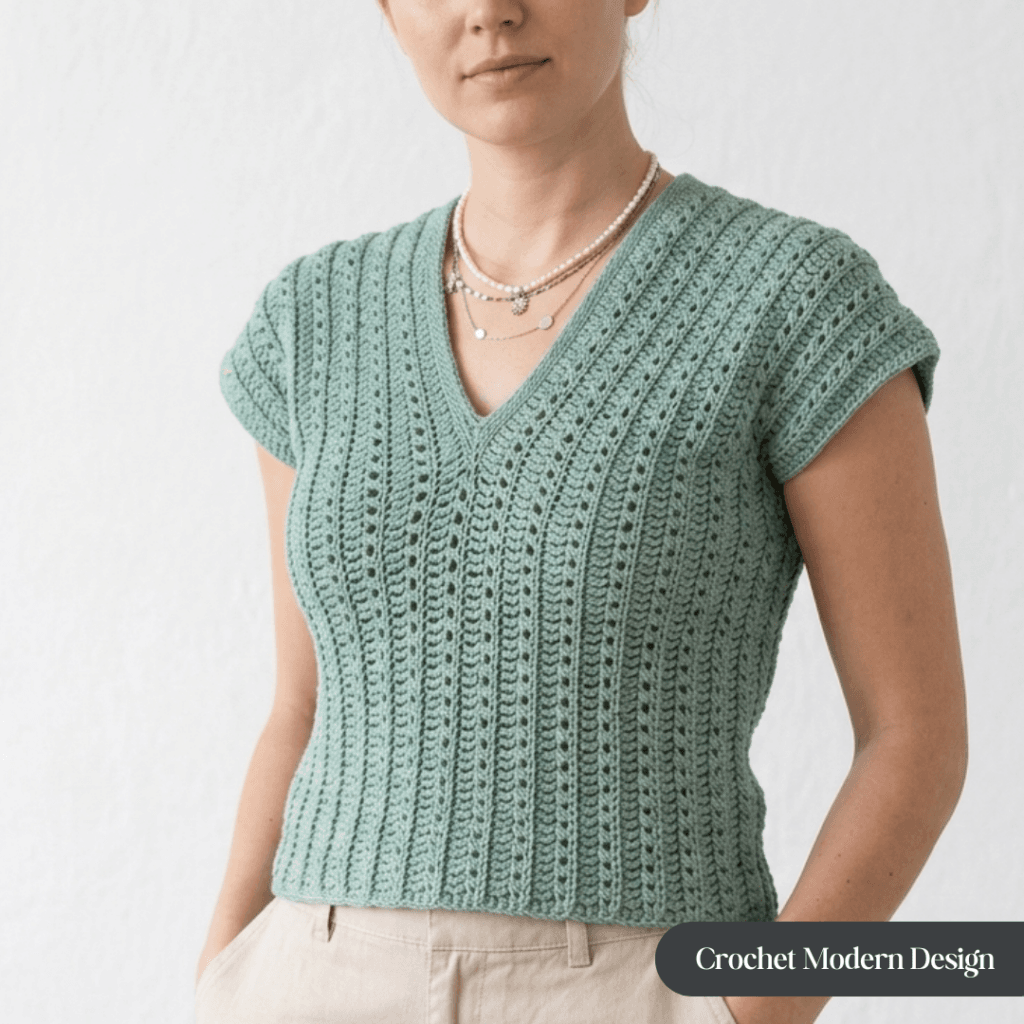
Materials
Here’s exactly what you’ll need. I’m a stickler about being specific with yarn — the wrong choice can make a beautiful pattern feel stiff or sloppy, and I want yours to drape the way it’s supposed to.
I made the sample top in a soft sage / dusty seafoam DK weight cotton-blend that I picked up at a local shop, so the brand isn’t something I can directly recommend online. What I can do is point you at the Amazon-stocked yarns I’d actually choose if I were ordering this top from scratch — same DK weight, same drape, same beginner-friendly hand-feel. I’ve put together a curated list of all the supplies (yarn, hook, notions) on my Amazon storefront so you can grab everything in one cart with Prime shipping.
👉 Get all the supplies for this pattern on Amazon (Crochet Top Supplies idea list)
What you need:
Yarn: DK weight (#3, sometimes labeled “Light Worsted”). My picks if you’re ordering online are Lion Brand Coboo (a cotton/bamboo blend with beautiful drape) or Bernat Softee Baby Cotton (a softer, more affordable cotton/acrylic — don’t let the “baby” name fool you, it’s wonderful for adult tops). Both are on the Amazon idea list.
Yardage by size — approximately:
- XS: 700–800 yds
- S: 800–900 yds
- M: 900–1000 yds
- L: 1000–1100 yds
- XL: 1100–1250 yds
Tip — buy one extra ball beyond what you think you need. Running out of yarn in the middle of the second side is the saddest moment in crochet, and dye lots can shift if you order more later.
Hook: 4mm (US G/6) crochet hook, or whatever size you need to obtain gauge. I love the Clover Amour 4mm — the soft grip really matters once you’ve got an audiobook chapter’s worth of stitches in you.
Notions: yarn needle (bent-tip is best for weaving in ends), 2–4 stitch markers, embroidery scissors, measuring tape.
Gauge: 16 stitches × 10 rows = 4″ / 10cm in double crochet. Always swatch — a looser gauge will make a larger, drapier top; a tighter one will make it smaller and denser.
Size chart
This pattern is written for five sizes with about 4–6 inches of positive ease. Choose your size based on your bust measurement.
| Size | XS | S | M | L | XL |
| Bust (to fit) | 30–32″ | 33–35″ | 36–38″ | 39–41″ | 42–44″ |
| Foundation chain | 130 | 136 | 142 | 148 | 154 |
| Stitch count | 128 dc | 134 dc | 140 dc | 146 dc | 152 dc |
| Rows per side | 13 | 17 | 21 | 25 | 29 |
| First-side width | 6″ | 8″ | 10″ | 12″ | 14″ |
| Neck chain | 68 | 70 | 74 | 76 | 80 |
Abbreviations & stitches
Don’t skip this section if you’re new — the few abbreviations below are the entire pattern.
- ch — chain
- st(s) — stitch(es)
- sl st — slip stitch
- sc — single crochet
- hdc — half double crochet
- dc — double crochet
- BLO — back loop only. Insert your hook into just the back loop of the V at the top of the stitch, leaving the front loop free. Creates a subtle ridge and gives the fabric a vertical stretch.
Special stitch: Cross V-Stitch
This is the texture that makes the top. It looks like an X, and it’s worked over two stitches:
1. Skip 1 stitch.
2. Work 1 hdc in the next stitch.
3. Go back and work 1 hdc into the skipped stitch, crossing over the front of the hdc you just made.
That’s it. Slow it down for the first row; by row 3 it’ll feel automatic. Make sure you cross over the front of the previous stitch, not behind — that’s the one mistake that makes the texture look messy.
[PHOTO: Step-by-step close-up showing the Cross V-Stitch — skipped stitch, first hdc, crossed-over second hdc]
The pattern
The top is worked as one flat piece with a slot for the neck in the middle. You’ll work the first side (one shoulder), then create the neck opening with a chain, then work the second side. Once that’s off your hook, you fold it in half and seam the sides — done.
Foundation chain
Make a slip knot. Chain the number for your size:
- XS: ch 130
- S: ch 136
- M: ch 142
- L: ch 148
- XL: ch 154
The foundation chain is the length of your finished top from shoulder to hem. It should measure approximately:
- XS: 29″ / 74cm
- S: 31.5″ / 80cm
- M: 34″ / 86cm
- L: 36″ / 91cm
- XL: 38.5″ / 98cm
Tip: turn your chain so you’re working into the back bumps — it gives a much neater bottom edge.
Row 1 (right side) — set up your stitches
Skip the first 3 chains (this counts as your first dc), then work 1 dc into the 4th chain from the hook. Work 1 dc in each chain across to the end.
Stitch count: XS 128 dc / S 134 dc / M 140 dc / L 146 dc / XL 152 dc.
Important: count your stitches at the end of this row. Whatever you have here, you should have for the rest of the pattern.
Ch 2, turn.
Row 2 (wrong side) — Cross V-Stitch row
Skip the first dc. *Work 1 hdc in the next dc (using both loops), then work 1 hdc in the skipped dc, crossing over the first hdc — that’s one Cross V-Stitch.* Repeat from * to * across the row, ending with 1 hdc in the last dc.
Cross V-Stitch count: XS 63 / S 66 / M 69 / L 72 / XL 75.
Ch 3, turn.
Row 3 (right side) — double crochet in back loop only
The ch 3 counts as your first dc. Working in the BACK LOOP ONLY of each stitch, work 1 dc in each stitch across. End with 1 dc in the top of the turning chain.
Stitch count: same as Row 1 (XS 128 / S 134 / M 140 / L 146 / XL 152 dc).
Ch 2, turn.
Continue: alternate Row 2 and Row 3 for the first side
Rows 2 and 3 are now your repeat rows. Alternate Cross V-Stitch row → DC-in-BLO row → Cross V-Stitch row → DC-in-BLO row, and so on, until you’ve completed the number of rows for your size:
- XS: 13 rows total
- S: 17 rows total
- M: 21 rows total
- L: 25 rows total
- XL: 29 rows total
Your first side should measure roughly XS 6″ / S 8″ / M 10″ / L 12″ / XL 14″ across.
Important: end on a double-crochet row (Row 3). The next step (the neck opening) needs that as its foundation.
Neck opening — Step 1: mark your shoulders
With your last row of dc complete, place stitch markers in two specific stitches:
- First marker: place after this many dc from the start — XS 30 / S 32 / M 33 / L 35 / XL 36.
- Second marker: place the same number of dc from the end.
The stitches between the two markers will become the neck opening. The stitches outside the markers are your shoulder sections.
Neck opening — Step 2: first shoulder + neck chain
Ch 2, turn. Work the Cross V-Stitch pattern (Row 2) across the first shoulder, stopping when you reach your first marker.
Cross V-Stitches across the first shoulder: XS 14 / S 15 / M 16 / L 17 / XL 17.
Now you’ll create the neck opening with a long chain. From the last hdc of the first shoulder:
- XS: ch 68
- S: ch 70
- M: ch 74
- L: ch 76
- XL: ch 80
Skip all the stitches between your markers, and join your chain to the second marker by working a Cross V-Stitch into the next stitch (using the chain as one of the two stitches in the cross). Continue the Cross V-Stitch pattern across the second shoulder to the end of the row.
Neck opening — Step 3: build the chain back into the neckline
Ch 3, turn.
Working in BLO, work 1 dc in each st across the second shoulder until you reach the long neck chain. Then work 1 dc in each chain stitch — this fills in the neck opening with double crochet, creating a clean top edge for the neckline. Continue with 1 dc in BLO across the first shoulder section.
Total dc count after this row should match your original count: XS 128 / S 134 / M 140 / L 146 / XL 152.
Second side — same as first
Continue alternating the Cross V-Stitch Row (Row 2) and the DC-in-BLO Row (Row 3) until your second side has the same number of rows as your first:
- XS: 13 rows
- S: 17 rows
- M: 21 rows
- L: 25 rows
- XL: 29 rows
End on a double-crochet row. Fasten off, leaving a long tail (about 24″ / 60cm) — you’ll use this for seaming.
Finishing — armholes
You’re so close. Fold your piece in half along the neck opening, with the right sides facing out. The fold sits along your shoulders; the open sides hang down.
Try the top on. Pull it over your head — the neck opening is the slot you just made. Now you’ll mark how deep you want the armholes.
Suggested armhole depth: leave approximately 40 dc (about 9″ / 23cm) open on each side from the fold downward. Adjust based on your preference — a roomier armhole is more forgiving in summer; a tighter one looks more fitted.
Place stitch markers on both sides at the point where you want seaming to start. Make sure the markers are at the same height on both sides.
Finishing — seam the sides
Using your yarn needle and the long tail (or a new piece of matching yarn), seam each side from the bottom edge up to the armhole marker. The mattress stitch makes an almost invisible seam:
1. Lay both edges side by side, right sides facing you.
2. Insert the needle under the back loop of the first stitch on one side.
3. Insert the needle under the back loop of the corresponding stitch on the other side.
4. Pull the yarn snug — not tight, just closed.
5. Continue alternating sides, working from the bottom up to the armhole marker.
Repeat for the other side. Weave in your tail securely.
Finishing — neck edging (optional but recommended)
A simple slip-stitch round around the neck makes the opening sit cleanly against your collarbone instead of curling. Join your yarn at one shoulder with a sl st. Ch 1, then work sl st evenly in each stitch around the entire neck opening. At the corners (where the chain meets the side stitches), work a decrease — insert hook through 2 stitches and pull yarn through everything in one motion. Join with a sl st to your starting stitch and fasten off.
If you want a wider, more structured neckband, work 3–5 rounds of sl st total, decreasing at the corners every round.
Finishing — armhole edging (optional)
For a finished look around the armholes, join your yarn at the underarm seam with a sl st. Ch 1, work sc evenly around the armhole opening. At each corner (where the seam meets the body), work an increase — 2 sc into the corner stitch — to keep the edge from puckering. Join with a sl st and fasten off. Repeat for the second armhole.
Finishing — weave in ends and block
Use your yarn needle to weave each tail through 4–5 stitches on the wrong side, then change direction and weave through a few more before trimming close to the fabric. Don’t pull the tails tight — let them sit naturally inside the stitches.
Blocking (optional but worth it). Soak the finished top in cool water for 15 minutes, gently squeeze out the excess, and lay it flat on a towel in its finished shape. Pin it if you want crisp edges. Let it dry completely. Blocking evens out your stitches, settles the drape, and is the difference between “handmade” and “how did you make that?”
[PHOTO: Finished top folded and laid flat showing the full silhouette with both side seams and neck edging visible]
Want a printable version?
If you’d rather have this as a beautifully designed PDF — formatted for printing, saving offline with more details step by step photos, and crocheting from on your couch without a single ad in sight — you can grab the polished ebook version from my shop. The PDF includes step-by-step photos, the full size chart, all five sizes, troubleshooting, and a coupon for a free bonus ebook inside.
👉 Get the printable PDF on my website (Crochet Modern Design)
💌 Or join my newsletter and I’ll send you a 60% off welcome coupon for the PDF (plus my free 18-page granny square ebook to thank you). Once or twice a week I share new free patterns, beginner tips, and behind-the-scenes from my design process. No spam, ever — promise. Use code WELCOME60 at checkout.
Troubleshooting
A few things that come up a lot — solutions before they become problems.
My stitch count keeps changing.
This is the single most common issue for beginners. Three things to check: are you working into the turning chain at the end of each row? Are you accidentally skipping the first stitch after turning? And are you counting at the end of every row until you trust your hands? A stitch marker in the first and last stitch of each row will catch this almost immediately.
The Cross V-Stitch doesn’t look right.
Almost always the cause: the second hdc is going behind the first instead of in front. Slow down for one row and watch where the hook passes. It should go in front of the previous stitch. Also make sure you’re working into the skipped stitch itself, not the gap beside it.
My top is too tight or too loose.
If too tight: go up a hook size, or add more rows on each side, or add chains to your foundation in multiples of 2. If too loose: go down a hook size, or reduce rows. The pattern uses a multiple of 2 + 4 for the foundation chain, so any chain count adjustment needs to follow that math.
The armholes feel too tight or too loose.
Easy fix: re-seam. Pull out the side seam, reposition your armhole markers higher (smaller armhole) or lower (larger armhole), and seam again. The whole point of marking armholes after the piece is off your hook is so you can try it on and adjust.
My edges are curling.
Normal for crochet fabric, especially with the BLO rows. Blocking will fix it. The edging rounds also help stabilize the edges. If it’s extreme, your tension is probably tight — try going up a half hook size.
I ran out of yarn mid-project.
Join the new ball at the beginning of a row (not mid-row) for the cleanest join. Leave a 6-inch tail on both old and new yarn for weaving. If your replacement skein is from a different dye lot, alternate rows between old and new for a few rows to blend the color shift — it’ll look intentional instead of accidental.
My yarn is splitting.
Try a hook with a more rounded tip — a Clover Amour or Furls work well. Slow down on the insertion and make sure you’re catching all the plies. Some yarns split more than others; cotton-blends are usually well-behaved, pure cottons can be fussier.
Care instructions
If you used a cotton or cotton-blend DK like the ones I recommend, the top is machine washable but I always wash a finished crochet piece gently the first time:
- Cold water, gentle cycle (or hand wash to be safe)
- Mild detergent — nothing with bleach or strong fragrance
- Lay flat to dry. Don’t tumble dry — heat can stretch and warp the fabric
- A light steam blocking restores the shape if it ever looks tired
If you’re using a different yarn, check the ball band — natural fibers like wool or alpaca will need hand washing only.
You did it 🎉
You just made a wearable, gift-able, summer-friendly top using six foundational stitches: chain, single crochet, half double crochet, double crochet, slip stitch, and back loop only — plus the Cross V-Stitch, which is now another tool in your kit. The construction technique you learned here (worked side-to-side as a flat piece, then seamed) opens up a whole category of garments. Cardigans, kimonos, vests, longer tunics — they’re all variations on this same idea.
I’d love to see what you made. Tag me on Instagram @CrochetModernDesign or use #CrochetModernDesign — I share community projects in my Stories every week.
Happy crocheting,
Elowen 🧡
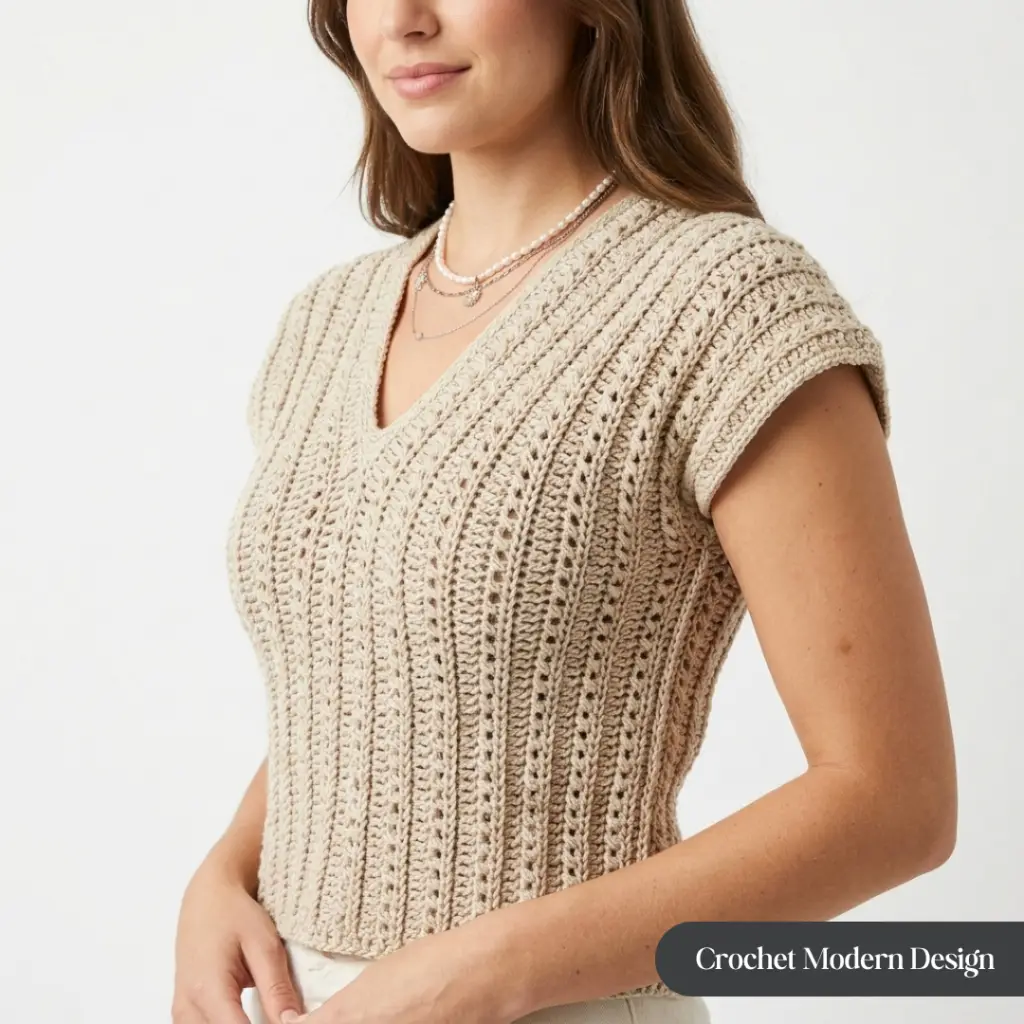
Patterns you might love next
If you enjoyed this one, three of mine you’d probably like:
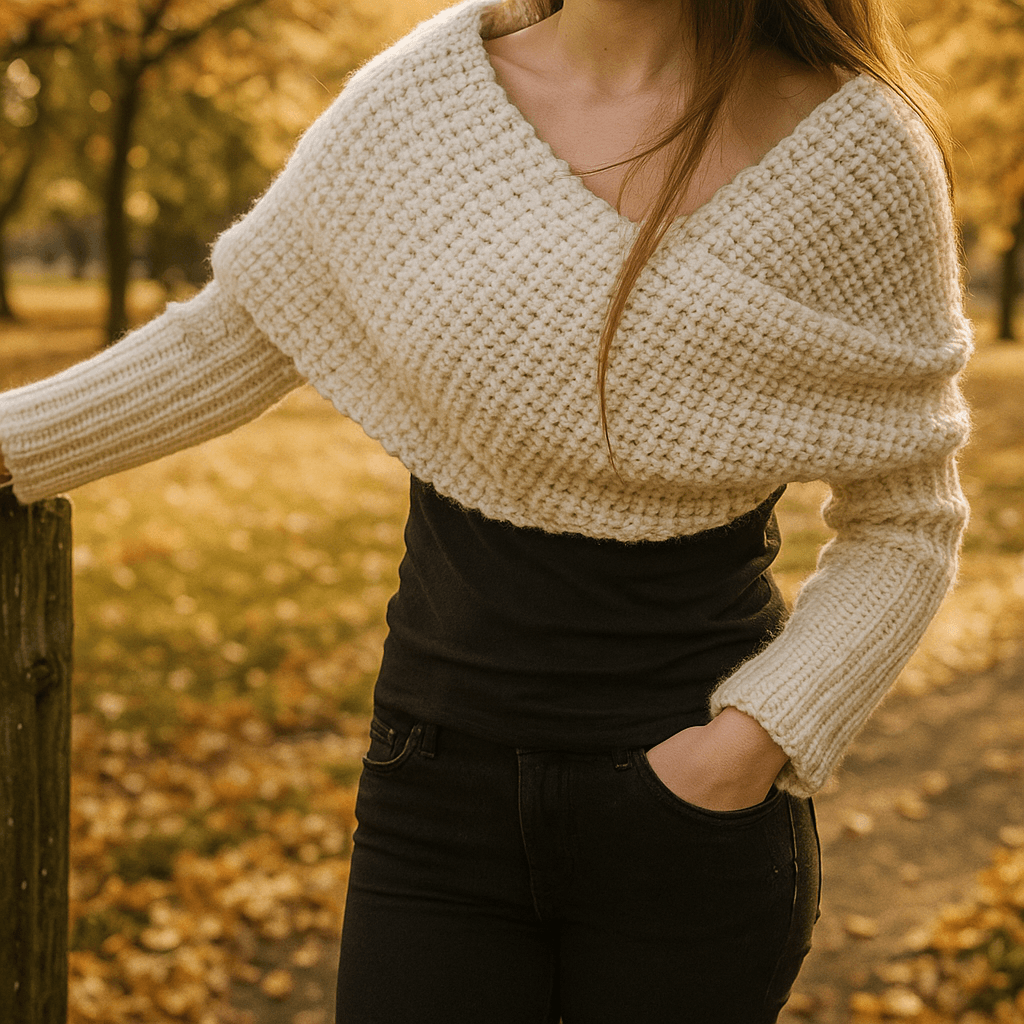
- Crochet Sweater Scarf — my best-selling hybrid wrap/sweater, beginner-friendly, makes in a weekend
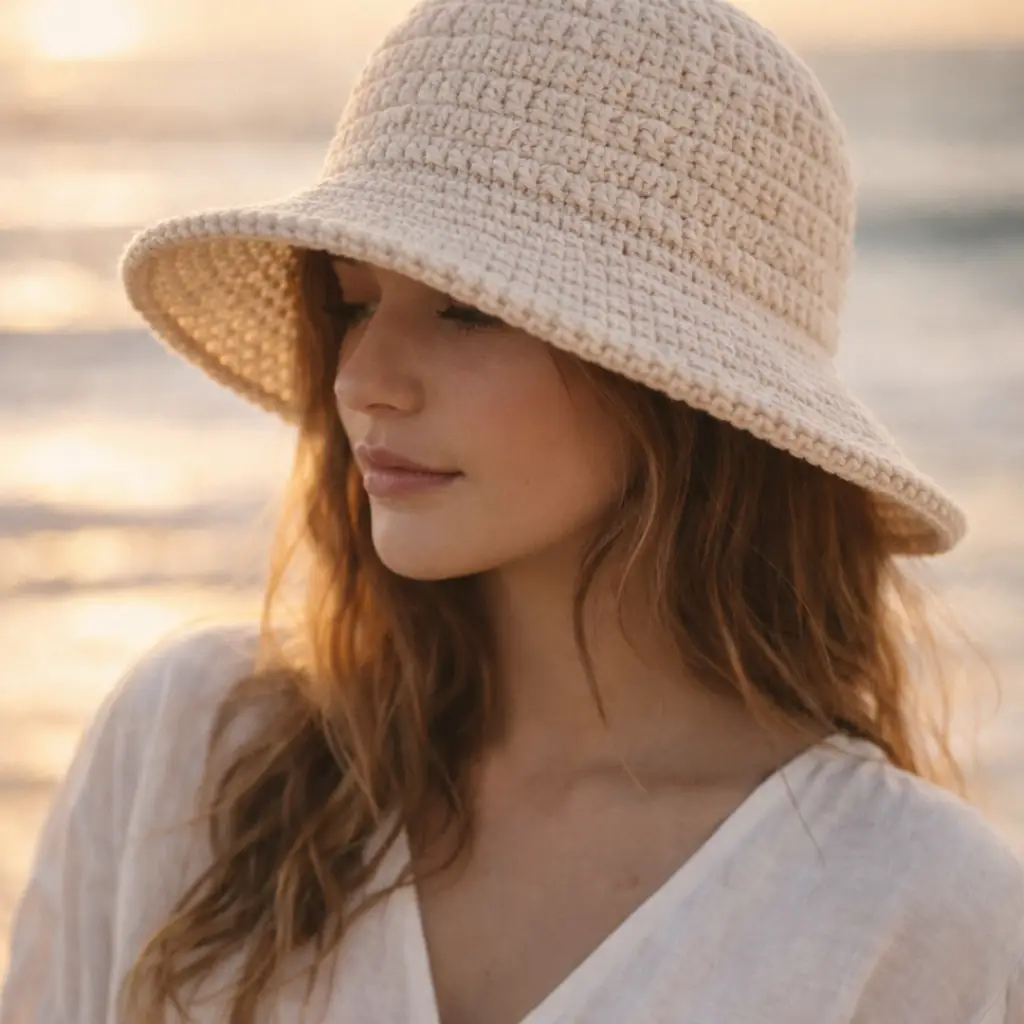
- Crochet Bucket Hat — quick afternoon project with a fun new technique to learn
- Mini Crochet Basket — a stash-busting gift project, perfect for using up leftover yarn from this top