Five sizes from newborn to 18 months, two colors of DK weight yarn, and the kind of handmade gift that gets tucked into a baby memory box and never thrown away.
There’s a specific feeling that comes with making something for a baby who isn’t here yet. Every stitch is a small bet on someone’s future — that they’ll be born safely, that the gift will arrive in time, that the new parents will recognize how much you cared. Crochet baby socks compress that whole story into one evening of work.
This is one of my most-loved patterns and the highest-converting listing in my shop — meaning more people who land on it walk away with the pattern in their hands than any other design. There’s a reason. The construction is approachable, the time-to-finish is short, and the result looks like the kind of thing your grandmother would have made if she were alive when you needed it.
Below is the full pattern, free, with all five sizes, materials, troubleshooting, and styling notes. If you’d rather have a printable PDF version (no ads, no scrolling, full step-by-step photos at every round) — there’s a polished ebook in my Etsy shop, and a coupon for newsletter subscribers near the end of this post.
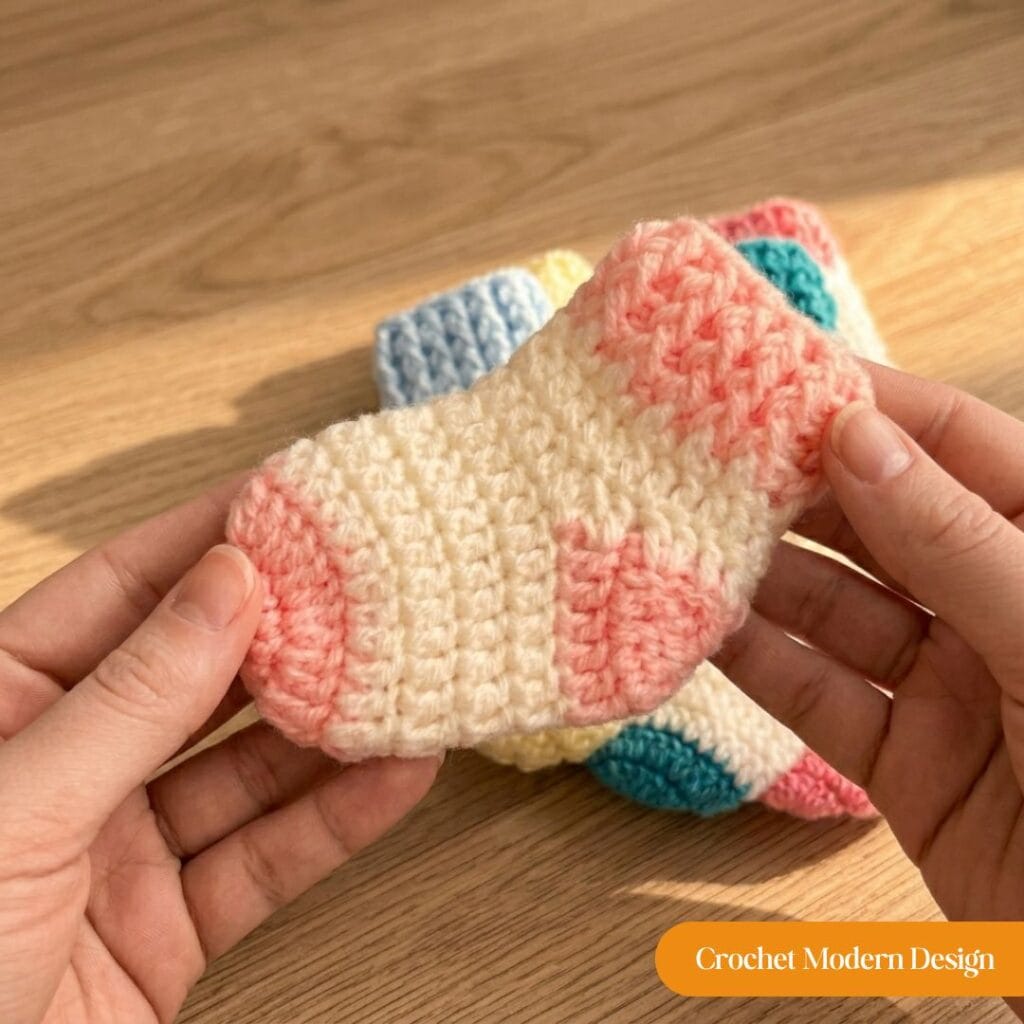
Quick info
| Skill level | Beginner-friendly |
| Sizes | 5 sizes — Newborn through 18 months |
| Time to make | 1 evening for a single pair, 1 day for a full size set |
| Yarn | DK (light worsted) weight, two colors — about 50g of main color, 30g of contrast |
| Hook | 2.5mm (intentionally smaller than DK recommends — for a tighter, more durable fabric) |
| Stitches used | ch, dc, sl st, FPdc, BPdc, dc2tog, magic ring |
| Construction | Worked toe-up in the round; heel formed in short rows; ribbed cuff at the top |
Why this pattern is special
It comes together in one evening.
From magic ring to weaving in the last end, a single pair takes most beginner crocheters about 2-3 hours. If you’ve ever been caught short by a baby shower invitation that arrived later than expected, you already know how valuable that timeline is. There’s no commitment of a whole weekend, no half-finished project staring at you for months. You sit down with a podcast, and by the time the episode ends you’re holding a finished sock.
The construction is genuinely beginner-friendly.
The whole sock is built from one core stitch — the double crochet — with two minor variations (front-post and back-post double crochet) used only on the cuff. If you can work a magic ring and a dc, you have everything you need. The trickiest part is the heel, which uses a short-row method that sounds intimidating in writing but takes about three rows to feel automatic.
Five sizes from one pattern.
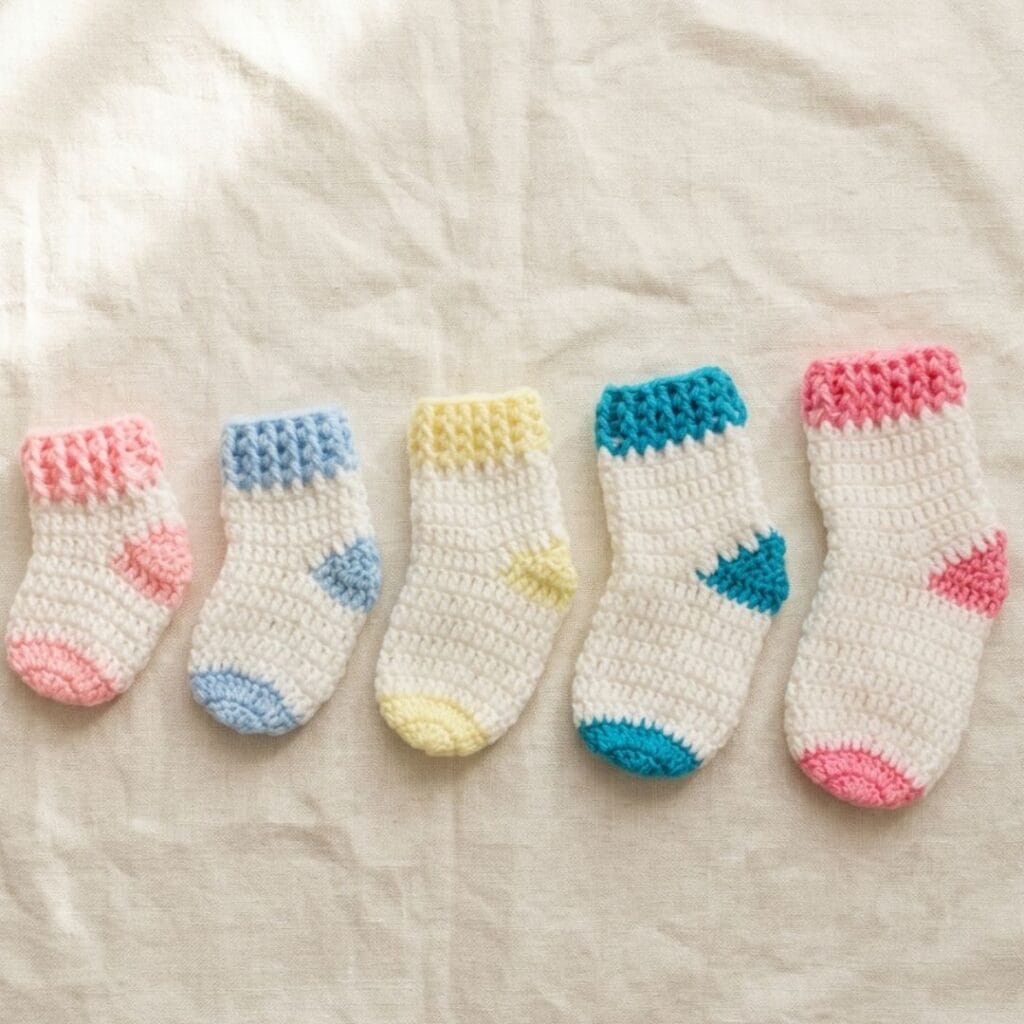
Newborn through 18 months — one chart, one approach, five different starting stitch counts. Make a single pair for the baby in your life right now, or work through all five sizes for a baby shower gift set that fits the new arrival every season for the next year and a half. The sizing math is already done; you just follow your column.
It looks like an heirloom but it’s machine-washable.
New parents are exhausted. Anything that can’t go in the gentle cycle is, frankly, going to live in a drawer untouched. By using a DK weight acrylic or acrylic-blend yarn — and making the fabric with a smaller-than-recommended hook — you get the look of a hand-knit heirloom with the practicality of something that survives a real baby’s life.
Five ways to use this pattern
This is one of those rare projects that quietly becomes the gift you reach for in every situation:
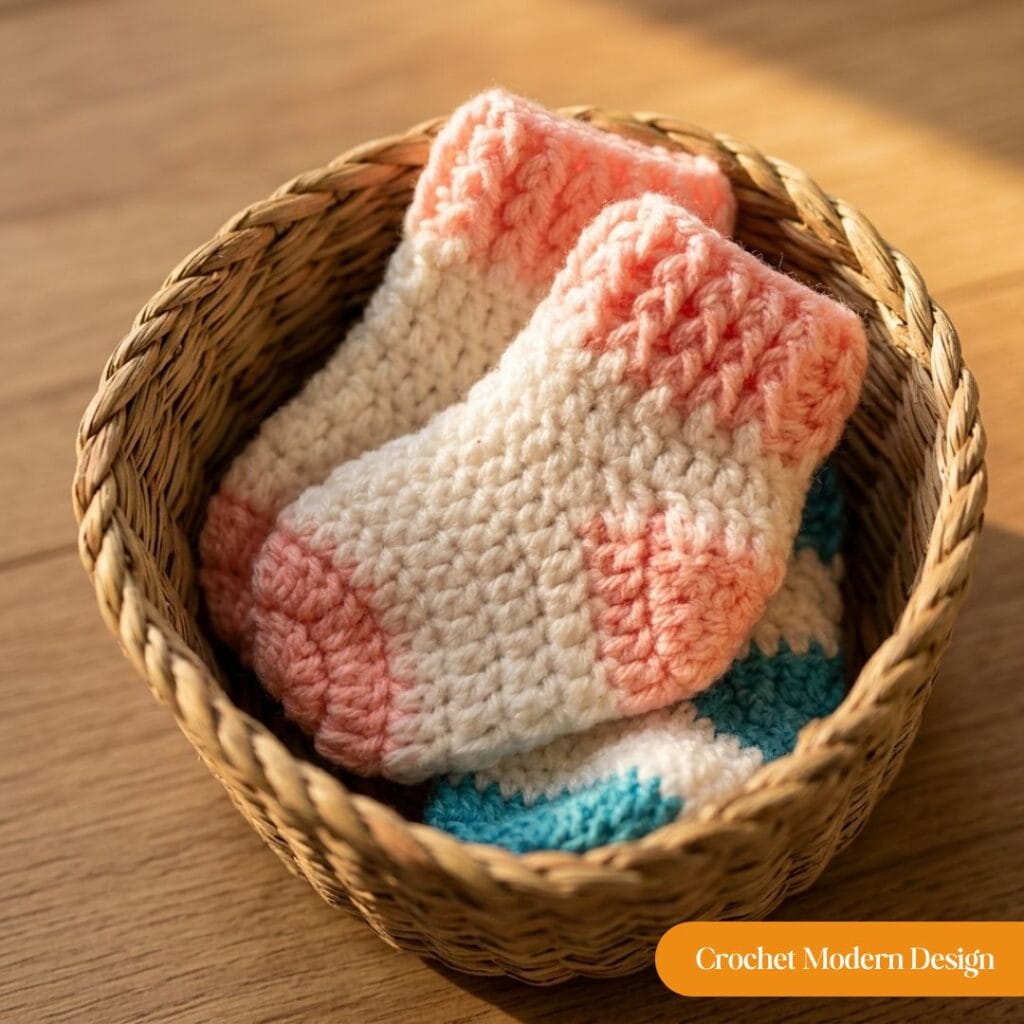
- The single best baby shower gift. Make one pair in the size for the baby’s expected birth season, wrap with kraft paper and twine, and you’re done. Cost in materials: under $5. Impact: enormous.
- A graduated gift set. Make one pair in each size — newborn, 0-3, 3-6, 6-12, 12-18. Package them in an open giftbox with tissue paper. Now you’ve given a year and a half of warm baby feet, and the new parents will think of you every time they put a pair on.
- A NICU or hospital donation. Many neonatal units welcome handmade donations in the smaller sizes. Check with your local hospital’s volunteer office for their fiber and cleanliness requirements first.
- A first Christmas keepsake. Made in red and cream, these are the kind of thing that ends up in the baby’s memory box and gets pulled out at every Christmas for the next twenty years.
- A test project for a yarn you’ve been eyeing. Each pair uses very little yarn, so this is a low-stakes way to try a new fiber or brand before committing to a sweater.
Materials
I’m specific about yarn because the wrong choice will make a beautiful pattern feel scratchy or sloppy, and these are going on a baby. Choose a fiber and weight that’s soft against newborn skin and durable enough to survive a wash cycle.
Yarn: DK weight (light worsted, weight category 3) yarn in two colors. You’ll need roughly 50g of your main color and 30g of contrast — one small skein of each is plenty. My personal recommendation for baby projects is Bernat Softee Baby — DK weight, machine washable, made specifically for baby skin, and very easy to find on Amazon.
Get the Yarn on Amazon : click here
Other DK options I’ve tested and recommend: Lion Brand 24/7 Cotton (DK, breathable for warm-weather babies) Get it here , Caron Simply Soft Light (DK, very soft, wide color range) , or Lion Brand Pound of Love if you want maximum yardage at a low price Get it here .
A note on substitution: technically, a worsted weight yarn (category 4) like Red Heart Super Saver will also work — you’ll just go up half a hook size and your finished sock will run slightly larger. Stay within DK to worsted; lighter or heavier weights will throw off the sizing.
Hook: 2.5mm crochet hook. Yes, that’s smaller than DK yarn typically recommends — and it’s deliberate. The smaller hook compresses the stitches into a denser, more durable fabric that holds its shape and stretches less when worn. Get your crochet essentials from here
Other tools: yarn needle for weaving in ends, scissors, measuring tape, and stitch markers if you like to mark your beginning chain-3 (helpful but optional).
Tip — buy slightly more contrast color than you think you need. The contrast color does double duty (toe + heel + cuff), and dye lots can shift if you order more later. Most craft stores accept unopened balls back after you finish.
Abbreviations & stitches
Six abbreviations and one technique cover the entire pattern. Read this section once before you start; you’ll only need to refer back if you forget something.
- ch — chain
- dc — double crochet
- sl st — slip stitch
- st(s) — stitch(es)
- sp — space
- FPdc — front post double crochet. Yarn over, insert hook front-to-back-to-front around the post of the stitch below, complete as a normal dc.
- BPdc — back post double crochet. Yarn over, insert hook back-to-front-to-back around the post of the stitch below, complete as a normal dc.
- dc2tog — double crochet two together (a decrease). Work two unfinished dc, then yarn over and pull through all loops on the hook to combine them.
- Magic ring — an adjustable starting loop that lets you crochet in the round without leaving a hole at the center. If this is your first time, search “magic ring tutorial” — three minutes of video will save you twenty minutes of writing.
Size chart
Before you start, decide which size you’re making. Each column below shows what changes by size — everything else in the pattern stays the same.
| Size | Age range | Foot length | Round 1 dc | Round 2 dc | Foot rounds | Heel R1 dc | Ankle rounds | Total length |
| Size 1 | Newborn | 9 cm | 12 | 24 | 4 | 12 | 3 | 9 cm |
| Size 2 | 0-3 mo | 10 cm | 13 | 26 | 5 | 13 | 4 | 10 cm |
| Size 3 | 3-6 mo | 11 cm | 14 | 28 | 6 | 14 | 5 | 11 cm |
| Size 4 | 6-12 mo | 12 cm | 15 | 30 | 7 | 15 | 6 | 12 cm |
| Size 5 | 12-18 mo | 13 cm | 16 | 32 | 8 | 16 | 7 | 13 cm |
All sizes finish with 3 rounds of ribbed cuff at the top. Pick your column, write the numbers down somewhere visible, and reference them as you work.
The pattern
Worked in one continuous piece, in this order: toe → foot → heel → ankle → ribbed cuff. The only times you’ll cut the yarn are at the heel transitions and the very end.
Round 1 — Starting the toe (contrast color)
The first round determines the size of your sock. Pick your size from the chart above and work the corresponding stitch count.
- Start with a magic ring using your contrast color.
- Ch 3 (counts as the first dc).
- Work the following number of additional dc into the magic ring: Newborn 11 (12 total), 0-3 mo 12 (13 total), 3-6 mo 13 (14 total), 6-12 mo 14 (15 total), 12-18 mo 15 (16 total).
- Join with sl st to the top of the beginning ch-3.
- Pull the magic ring tight to close the center.
Round 2 — Increasing the toe (contrast color)
This round doubles your stitch count by working 2 dc into each stitch.
- Ch 3 (counts as first dc).
- Work 1 dc into the same space as the ch-3.
- Work 2 dc into each stitch around.
- Join with sl st to the top of the beginning ch-3.
- Cut the contrast color, leaving a 6-inch tail to weave in later.
After Round 2 your stitch count should match: Newborn 24, 0-3 mo 26, 3-6 mo 28, 6-12 mo 30, 12-18 mo 32.
Rounds 3+ — Building the foot (main color)
Switch to your main color and work even rounds (one dc per stitch) to create the length of the foot.
- Join the main color yarn to any dc from Round 2.
- Ch 3 (counts as first dc).
- Work 1 dc into each stitch around.
- Join with sl st to the top of the ch-3.
Repeat this round, working dc in each stitch, for the total number of rounds your size requires:
- Newborn — 4 rounds total in main color
- 0-3 months — 5 rounds total
- 3-6 months — 6 rounds total
- 6-12 months — 7 rounds total
- 12-18 months — 8 rounds total
Each round begins with ch 3 and ends with sl st to join. Don’t cut the yarn yet — we’re going to use it again after the heel.
Creating the heel (contrast color, short rows)
The heel is worked back and forth in short rows over half the stitches, creating a shaped pocket that cups the baby’s heel. This is the trickiest section — read it twice before starting.
Heel setup
- After the last main color round, remove the slip stitch you used to join.
- Pull the working loop through to the third chain of the beginning ch-3 of the previous round.
- Cut the main color yarn, leaving a 6-inch tail (you’ll rejoin this color after the heel).
- Join the contrast color through the two loops on the hook.
Heel Round 1 (contrast color)
- Ch 3 (counts as first dc).
- Work dc across HALF of the stitches only — Newborn 11 more (12 total), 0-3 mo 12 more (13), 3-6 mo 13 more (14), 6-12 mo 14 more (15), 12-18 mo 15 more (16).
- Do NOT join. Turn your work.
Heel Round 2 (contrast color) — the decrease round
This round shapes the heel by decreasing every pair of stitches.
- Ch 3, turn.
- Work dc2tog: yarn over, insert hook into next st, pull up loop, yarn over, pull through 2 loops (leave the last loop on the hook). Yarn over, insert hook into the next st, pull up loop, yarn over, pull through 2 loops (2 loops remain on hook). Yarn over, pull through both loops to complete.
- Continue working dc2tog across the row.
After Heel Round 2 you should have: Newborn 6 sts, 0-3 mo 7 sts (work one dc3tog in the middle for a neat odd count), 3-6 mo 7 sts (same dc3tog tip), 6-12 mo 8 sts, 12-18 mo 8 sts.
Heel Round 3 (contrast color) — closing the heel
For Newborn, 0-3 months, and 3-6 months:
- Ch 3, turn.
- Work 1 dc in each st, but for each one, leave the last loop of the dc on the hook.
- When you’ve worked all stitches across, you should have 7 loops on your hook (including the working loop).
- Yarn over and pull through all 7 loops at once.
- Cut the yarn and weave the end through to the inside of the sock.
For 6-12 months and 12-18 months: work one additional decrease round (a repeat of Heel Round 2) before doing the close-up round above.
Completing the ankle (main color)
Now we rejoin the main color and work around the entire opening — both the heel pocket and the front of the foot — to bring the sock back into a tube.
Ankle setup round
- Join the main color yarn at the corner of the heel.
- Ch 3 (counts as first dc).
- Work dc evenly around the opening: 2 dc into each stitch along one side of the heel; work dc2tog across the heel corner if needed to keep your count even; 2 dc into each stitch along the other side; 1 dc into each stitch across the front (opposite the heel).
- Join with sl st to the top of the ch-3.
After the setup round your total stitch count should match the foot: Newborn 24, 0-3 mo 26, 3-6 mo 28, 6-12 mo 30, 12-18 mo 32. If you’re off by 1-2, no worries — it’s a sock, not a wedding dress. Adjust on the next round with one decrease or increase.
Ankle even rounds
Work even rounds (1 dc in each stitch around) in main color for:
- Newborn — 3 rounds
- 0-3 months — 4 rounds
- 3-6 months — 5 rounds
- 6-12 months — 6 rounds
- 12-18 months — 7 rounds
Each round: ch 3, dc in each st around, sl st to join. After your last round, cut the main color and weave in the end.
Ribbed cuff (contrast color)
The final touch is a stretchy ribbed cuff using front-post and back-post double crochet. This is what makes the sock stay on a wiggly baby foot.
Cuff Round 1
- Join contrast color to any stitch.
- Ch 3 (counts as first dc — treat it as a FPdc for the next round).
- Work *BPdc around the next stitch, FPdc around the next stitch* — repeat from * to * around.
- Join with sl st to the top of the ch-3.
Cuff Round 2
- Ch 3 (counts as first dc).
- Work BPdc around each BPdc and FPdc around each FPdc from the previous round. This is what creates the vertical ribs.
- Join with sl st to the top of the ch-3.
Cuff Round 3
- Ch 3.
- Continue the established ribbed pattern: FPdc around FPdc, BPdc around BPdc.
- Join with sl st.
- Cut the yarn, leaving a 6-inch tail.
- Pull through and weave in all remaining ends.
Finishing
Thread each yarn tail onto your yarn needle, weave through several stitches on the wrong side, change direction and weave back a few more, then trim close to the fabric. Gently stretch the sock to confirm the tails are secure.
Blocking is optional but worth it for gift socks — dampen with water, gently shape, lay flat to dry. Don’t wring or twist.
Now make the second one. The first sock takes a couple of hours; the second one always goes faster.
Want a printable version?
If you’d rather have this pattern as a beautifully designed PDF — formatted for printing with step by step photos, saving offline, and crocheting without a single ad in sight — you can grab the polished ebook version from my Etsy shop. It’s the same pattern with bonus content: a printable size chart, full step-by-step photos at every round, and a tucked-in welcome gift coupon when you open it.
💌 Or join my newsletter and I’ll send you a 60% off welcome coupon for the PDF (plus my free 18-page granny square ebook to thank you). Once or twice a week I share new free patterns, beginner tips, and behind-the-scenes from my studio. No spam, no nonsense.
Tips & tricks
- Tension matters most on the cuff. The ribbed cuff should be stretchy but not sloppy. If yours feels loose, try going down half a hook size for the cuff rounds only.
- Keep your stitches consistent. Baby socks are small enough that one tight or loose round shows clearly. If your tension drifts, it’s usually because you got tired — set the project down, come back fresh.
- Use stitch markers. Even just one marker on your beginning ch-3 helps you find the join when the rounds get small. Pet hair, dropped phones, and toddlers will all conspire to lose your place — markers save you.
- Mix three colors for visual interest. The pattern uses two, but you can add a third — say a thin stripe in the ankle section, or a different color for the cuff. Just keep the toe and heel in the same color for a consistent look.
- Match nursery colors. If you know the new parents’ nursery palette, work the socks to match. It elevates the gift from “handmade” to “thoughtful.”
Sizing adjustments
Babies don’t come in standard sizes, and sometimes you need to nudge between the chart options. Here’s how:
- Each additional dc you add to Round 1 adds approximately 1 cm to the foot length. Need a sock between sizes? Add or subtract one dc.
- For length adjustments without changing width, add or subtract even rounds in the foot section.
- For taller or shorter cuffs, add or subtract ankle rounds.
- The sock should stretch comfortably over the foot, the heel should cup the baby’s heel without pinching, the cuff should stay up without cutting in, and there should be slight ease in the foot for growth.
Troubleshooting
A few things that come up a lot — solutions before they become problems.
- My heel is too tight. Use a slightly larger hook for the heel section only. Half a hook size up is usually enough to fix it.
- My sock is too loose overall. Go down half a hook size, or switch to a slightly thinner DK yarn.
- The ribbing on my cuff doesn’t look defined. You’re probably working into the top of the stitch instead of around the post. The hook should pass around the vertical body of the previous round’s stitch — not into the V at the top.
- My stitch count keeps drifting. Use a stitch marker to track your beginning ch-3 every round. Count your stitches every 2-3 rounds and frog back if you’ve drifted — better to lose one round than discover the problem at the cuff.
- There are holes where I changed colors. Pull the new color snug when you join. Weave in the tails on the wrong side after a few rounds to lock the join.
Care instructions
Most DK weight acrylic and acrylic-blend baby yarns are machine washable, but the gentlest treatment will keep these socks looking new the longest:
- Hand wash in cool water with a mild detergent for the first wash.
- For subsequent washes, machine wash on the gentle cycle inside a mesh laundry bag (only if your yarn label permits machine washing).
- Lay flat to dry. Do not tumble dry — heat can stretch and felt some fibers.
- Store folded or rolled to maintain shape.
- Avoid bleach and fabric softeners — both shorten the life of the yarn.
If you used a wool or wool-blend yarn, hand wash only. Always check the ball band of whatever yarn you actually used.
You did it 🎉
You just made a wearable, gift-able, multi-size handmade keepsake using six abbreviations and one clever short-row heel. Those skills carry directly into hats, mittens, and any other small project worked toe-up or top-down. The hardest part was always reading the pattern; the second pair you make will go twice as fast.
I’d love to see what you made. Tag me on Instagram @CrochetModernDesign or use #CrochetModernDesign — I share community projects in my Stories every week.
Happy crocheting,
Elowen 🧡
Patterns you might love next
If you loved making these baby socks, three of mine you’d probably like:
- Crochet blanket — the natural companion piece. Pair it with the socks for a complete handmade newborn gift set.
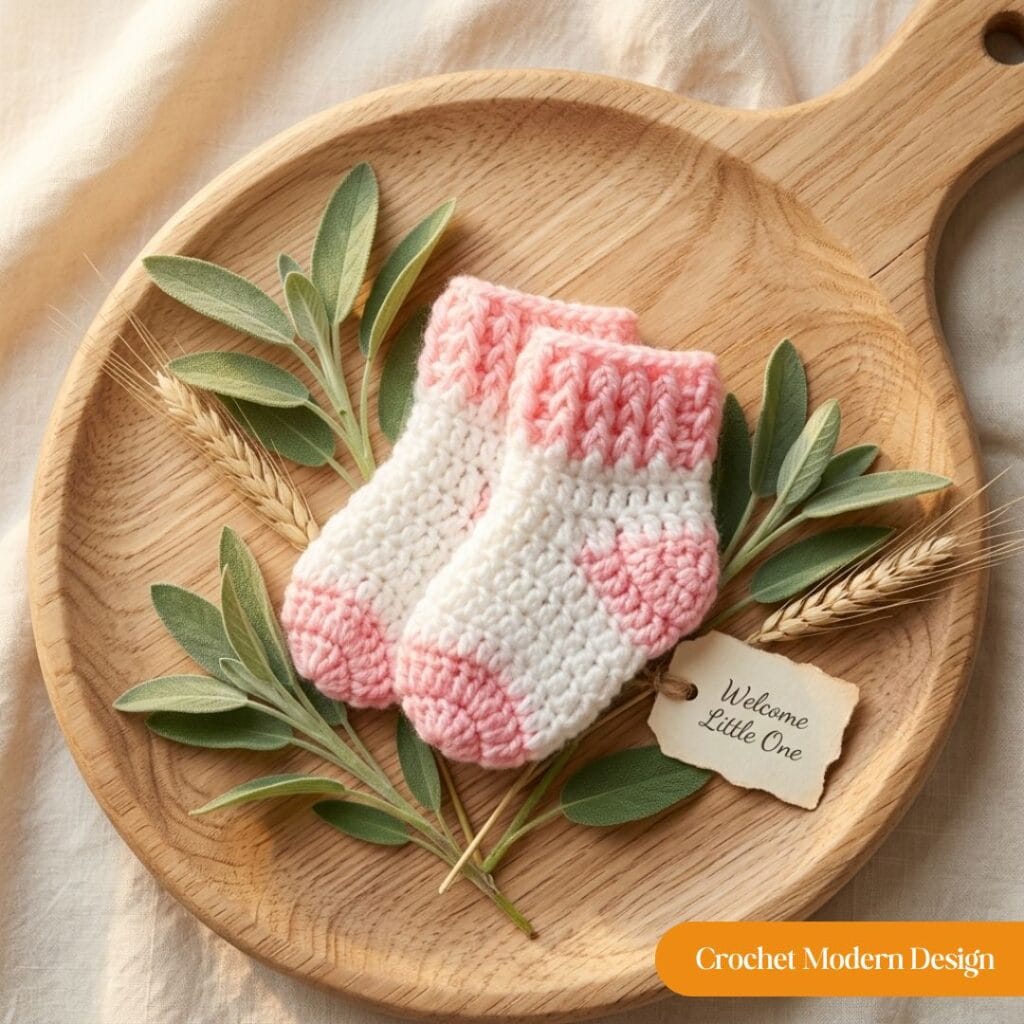
- Mini Basket — quick, cute, perfect for stash yarn. Use it to hold and gift the baby socks.
- Crochet Bucket Hat (baby through adult) — another beginner-friendly small project, with a video tutorial if you prefer to follow along visually.
Together, the Baby Cardigan + Baby Socks + Mini Basket make a “newborn handmade gift set” that’s about three evenings of work and looks like the kind of thing parents pull out of storage 18 years later.