


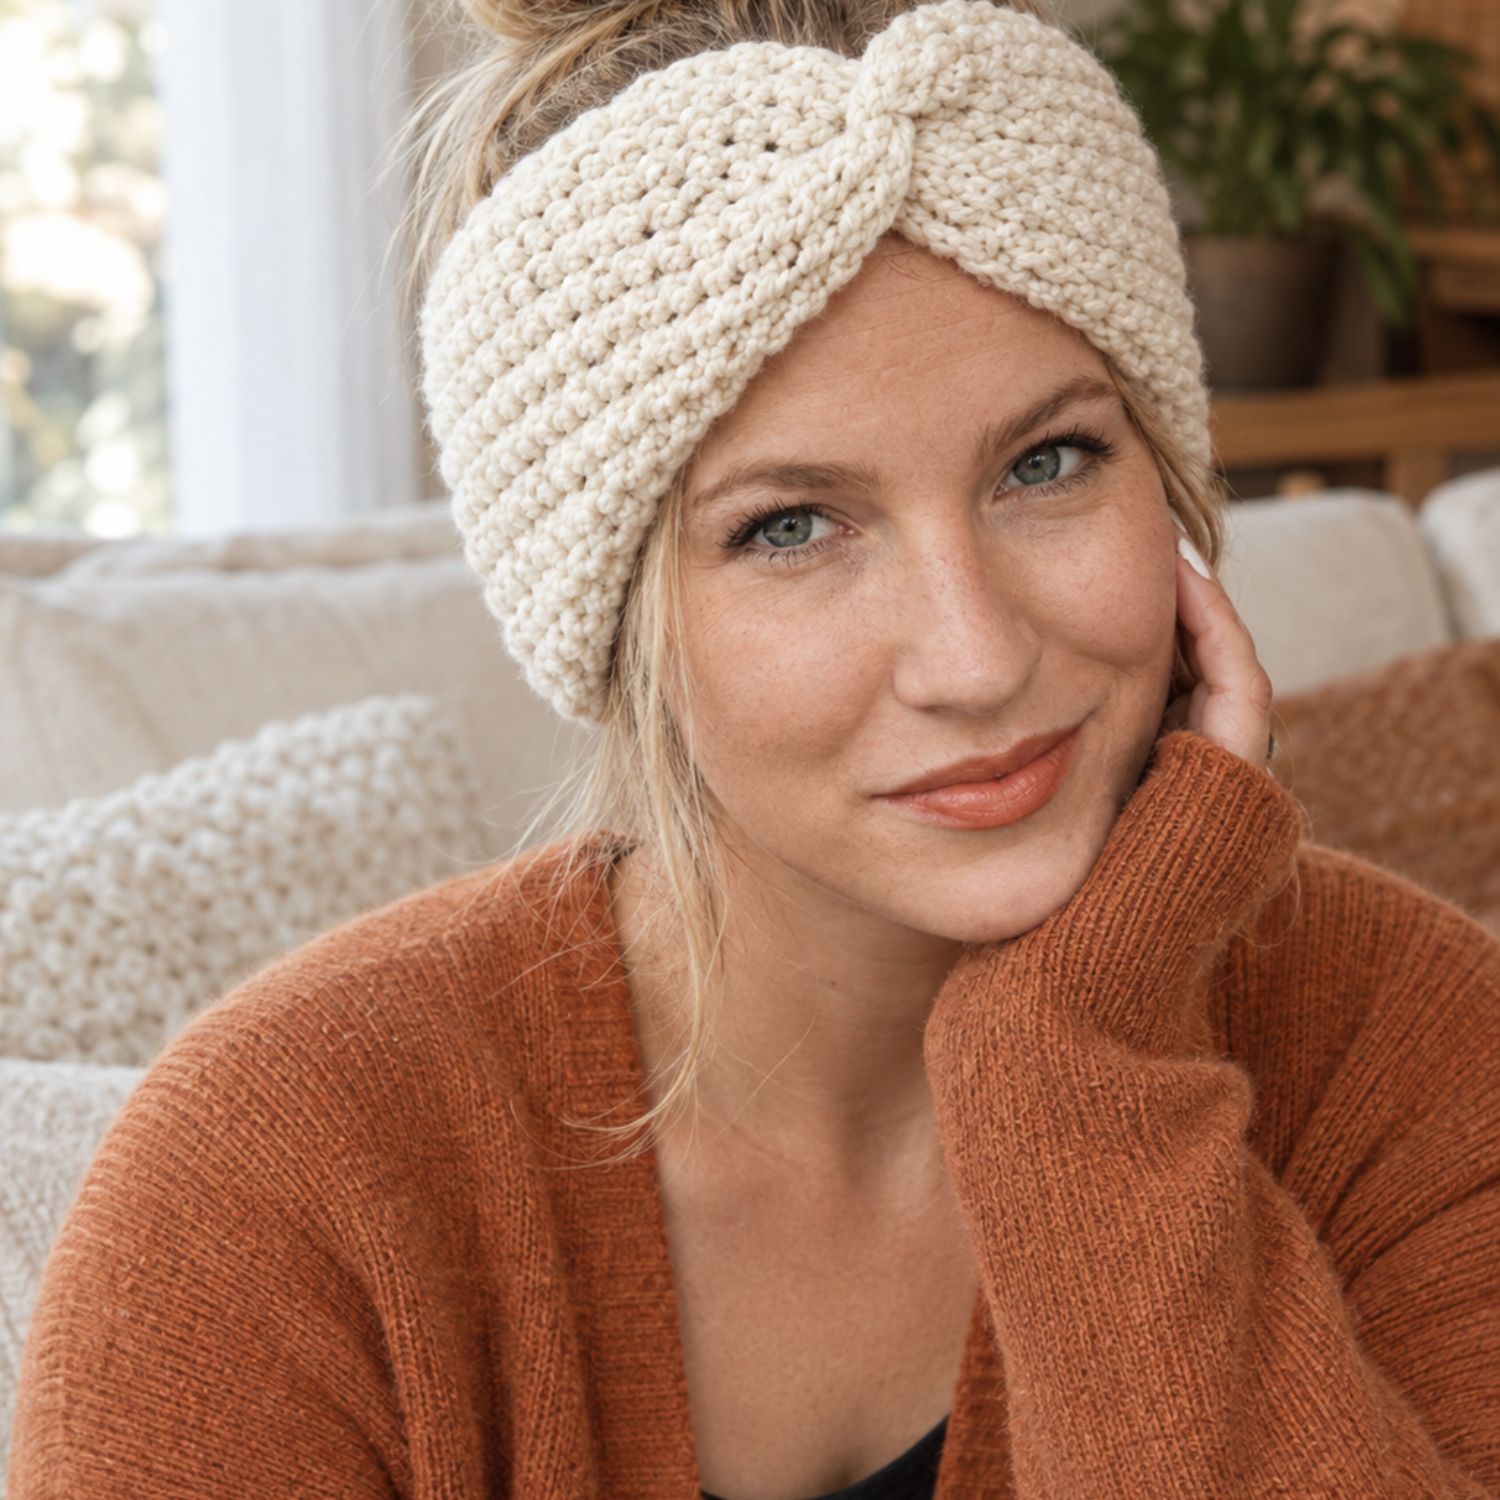
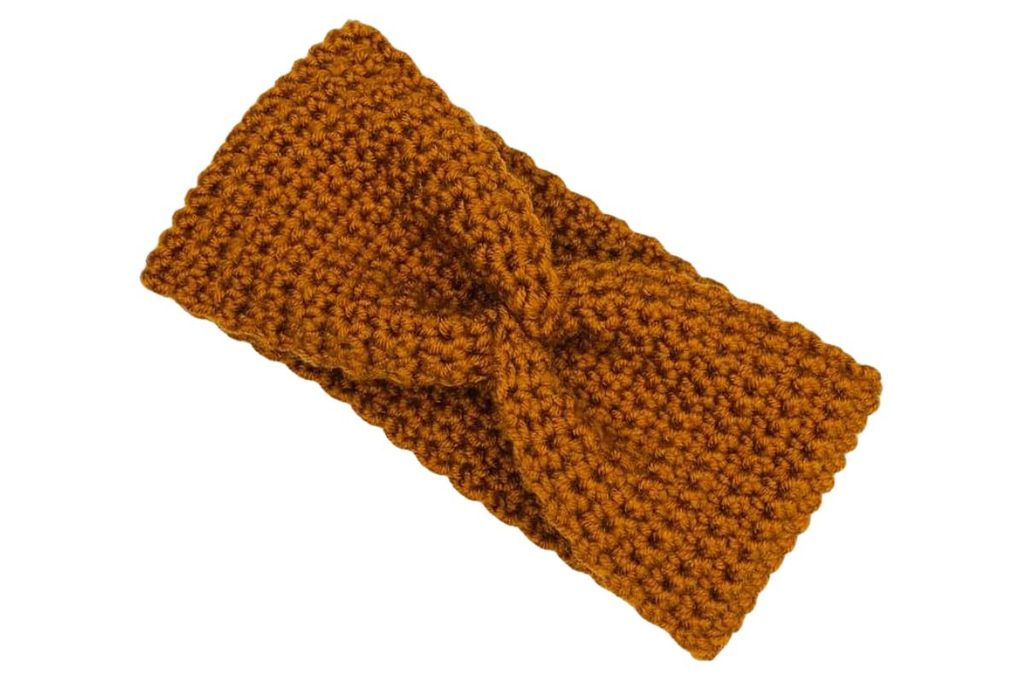
If you’ve ever pulled on a beanie and watched it flatten your hair in about four seconds, you already understand why ear warmers exist. They keep the cold off the part that actually hurts — your ears — and leave everything else alone. And of all the winter accessories you could learn to crochet, this one is the kindest place to start.
Here’s the part that surprises people: that sculpted twist at the front isn’t a braid, a cable, or any kind of clever stitchwork. The whole band is worked in plain single crochet — one stitch, start to finish. The twist happens at the very end, when you fold the two ends and slip one halfway through the other before sewing them down. It takes about five minutes to learn and it looks like it took years.
So if you’re newer to crochet and you want a project you’ll actually wear — not another swatch in the drawer — this is the one.
🧶 Want to make one tonight? Grab the full step-by-step PDF pattern — every row written out, stitch counts on every line, and photo guidance through the twist. Instant download.
🛒 Shop the exact yarn + tools I use → my Amazon storefront.
Quick Info
| Skill level | Beginner-friendly — genuinely a first project |
| Time to make | About 1–2 hours |
| Hook | 7 mm (6.5 mm / US K also works) |
| Yarn | Bulky weight (CYC 5), about 50–70 yd (45–65 m) |
| Stitches used | Chain, single crochet |
| Finished size | Band about 4½” / 11.5 cm deep; fits an adult head of 21–23” / 53–58 cm |
| Sizes included | Adult, teen and child — fitted by measurement |
| Best for | Winter walks, school runs, craft fairs, handmade gifts |
Why This Ear Warmer Is Such a Good First Project
Most “beginner” winter patterns aren’t really beginner patterns. They ask you to work in the round, keep a stitch marker travelling, decrease across a crown, or manage ribbing that has to stretch evenly. Any one of those is a fair ask on its own. Together, on a first project, they’re the reason so many people put the hook down.
This one asks for none of it.
- It’s flat until the very last step. You make one long rectangle, back and forth in rows. Nothing is worked in the round, nothing is shaped, nothing needs stuffing. It only becomes a headband when you fold and sew it at the end.
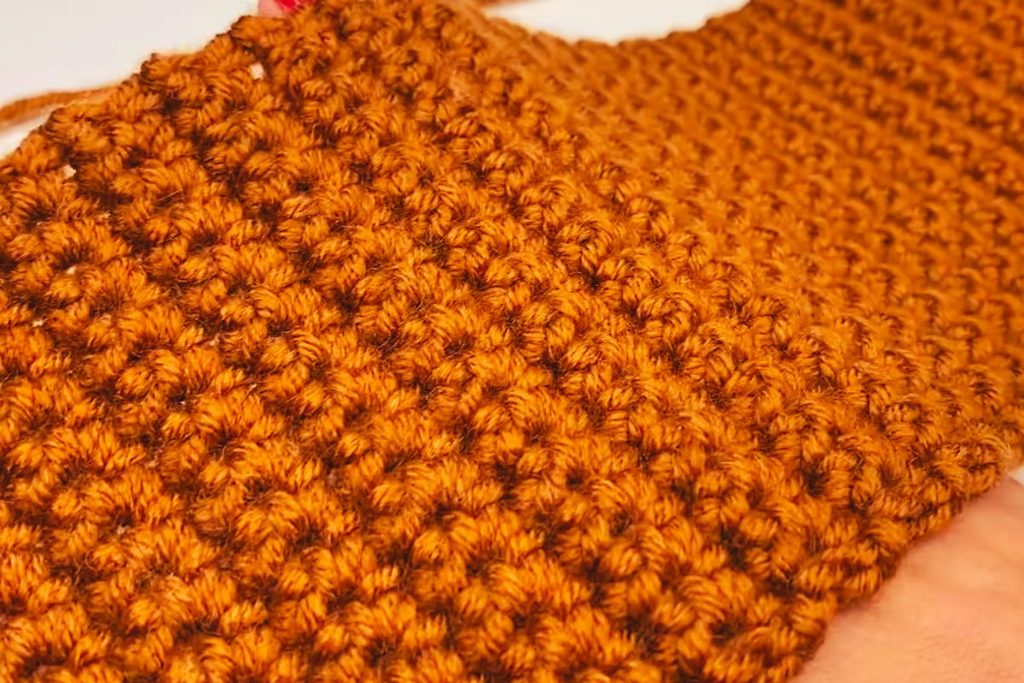
- It uses exactly one stitch. Single crochet does all the work. There’s no ribbing, no post stitches, no cables, no decreases to count. If you know how to chain and single crochet, you already know this whole pattern.
- It’s fast enough to stay interesting. Bulky yarn on a 7 mm hook grows quickly. You can start after dinner and wear it in the morning, which matters enormously when you’re new and motivation is fragile.
- A mistake costs you minutes, not an afternoon. Every row is identical, so if a row goes wrong you pull it back and redo it in ninety seconds. Nothing is ever ruined.
- It’s a genuine one-skein project. A single skein of bulky yarn makes several, so you can experiment with colours without a second trip to the yarn shop.
And the skills you build here — a tidy foundation chain, even rows, a straight edge, seaming with a yarn needle — are the foundation of almost everything else you’ll make. Scarves, blankets, bags, cowls. This isn’t just an ear warmer; it’s the first four techniques, disguised as something you’ll wear.
Who It’s For
Complete beginners. If this is your first finished object, you’ve picked well. One stitch, one shape, and something wearable at the end.
Anyone who hates hat hair. The open crown is the whole point. Ears covered, hairstyle intact.
Gift makers. An hour or two per band and one skein of yarn means you can make one for every name on your list and still enjoy December. Add a little care tag and it looks shop-bought.
Craft fair sellers. Low yarn cost, quick turnaround, and it photographs beautifully in a row of colours on a market table. Finished items from this pattern are welcome to sell.
Experienced crocheters who want to switch off. Sometimes you don’t want to follow a chart. This is a film-and-a-hook kind of project.
Materials You’ll Need
As an Amazon Associate I earn from qualifying purchases — at no extra cost to you.
Yarn
Bulky weight yarn (CYC 5 — sometimes labelled “chunky”). You need roughly 50–70 yards, so one skein is plenty and leftovers will make a second.
- Lion Brand Hue + Me — soft, squishy, and widely stocked. This is my go-to recommendation now that Lion Brand’s Color Made Easy (the yarn in the original sample) has been discontinued.
- Any smooth bulky acrylic or acrylic blend from your stash. Bernat, Caron and Red Heart all make good options.
💡 Why bulky yarn? Two reasons, and both matter when you’re learning. Big stitches are simple to see, so when something goes wrong you can actually spot where. And the fabric grows fast enough that you stay motivated to the finish line. A thinner yarn would take three times as long and hide its own mistakes.
Hook
- 7 mm crochet hook — the size used for the sample.
- Full crochet hook set — worth it if you’re starting out and don’t yet own a range.
A 6.5 mm (US K) works too. Slightly tighter fabric, slightly narrower band — both perfectly good.
Notions
- Darning needle — for seaming the twist and weaving in the ends. A blunt tip with a big eye is what you want.
- Scissors — any sharp small pair.
- A measuring tape — genuinely important for this one, since you fit the band to your own head as you go.
- A stitch marker (optional) — clip it into the last stitch of each row and you’ll never lose your edge.
🛒 Everything in one place → Shop the Ear Warmer kit on my Amazon storefront.
Stitches & Abbreviations (US Terms)
This pattern is written in US crochet terms. If you learned in UK terms the conversion matters, because the same names mean different stitches in each system — a US single crochet is a UK double crochet.
- ch — chain. Yarn over your hook, pull it through the loop already there. That’s one chain.
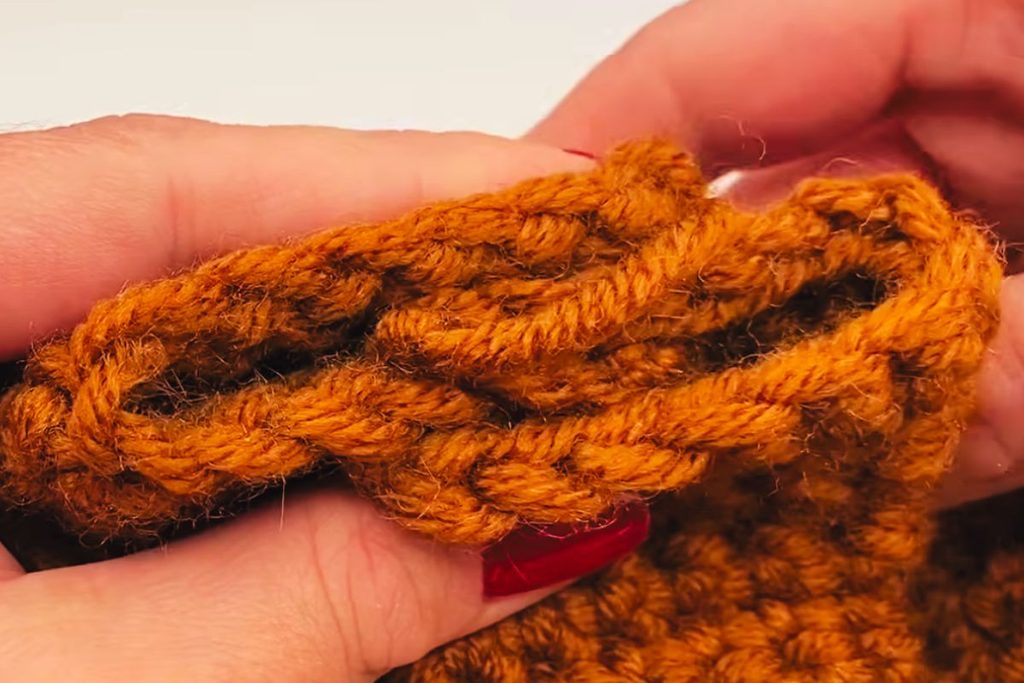
- sc — single crochet. Insert your hook into the next stitch, yarn over and pull up a loop (two loops on the hook now), yarn over again and pull through both. Done.
- st / sts — stitch / stitches.
- rep — repeat.
That’s the entire stitch list. Two stitches, and one of them is the chain.
US → UK conversion for this pattern:
| US term | UK term |
| chain (ch) | chain (ch) |
| single crochet (sc) | double crochet (dc) |
How the Ear Warmer Is Made (Construction Overview)
Here’s the shape of the project, so you know exactly what you’d be making before you start.
You begin with a foundation chain, and the length of that chain sets how deep your band will be — how much of your ears it covers. From there you work single crochet back and forth in rows, turning at the end of each one. Every row is identical to the last, so once you’ve done two you’ve learned the whole thing.
You keep going until the strip is long enough to wrap around your head. This is where the pattern is smarter than a fixed set of numbers: rather than crocheting to a stated row count and hoping, you measure as you go and try it on before you sew anything. That’s why the same pattern fits an adult, a teenager or a child — you’re fitting it to a real head rather than an average one.
Then comes the twist, and it’s the part everyone assumes is complicated. It isn’t. You fold each end of the strip in half, then slip one folded end halfway into the other so they interlock. Not all the way through — halfway. That half-tuck is the entire twist. You seam the middle where the layers overlap, close the two small openings at the sides, weave in your ends, and turn it right side out.
That’s the whole build: one rectangle, one fold, one seam.
What’s Inside the PDF Pattern
The overview above tells you what you’d be making. The PDF is what walks you through actually making it — written for someone who has never finished a crochet project before.
Inside the 16-page ebook:
- ✅ The complete row-by-row written pattern, with a stitch count on every single row so you can check your own work as you go
- ✅ Beginner stitch tutorials — slip knot, chain and single crochet taught from scratch, not assumed
- ✅ A fit-your-own-head sizing guide with target measurements for adult, teen and child, plus the try-on checkpoint
- ✅ Photo-guided twist assembly — the fold-and-seam broken into eight clear steps, which is the part that’s hardest to learn from words alone
- ✅ Full materials list with current yarn recommendations
- ✅ US terms with a UK conversion table
- ✅ A troubleshooting section covering the seven snags beginners actually hit — drifting stitch counts, that simple-to-lose last stitch of the row, curling edges, joining a new ball, and what to do if the finished band comes out too big or too small
- ✅ Finishing, blocking and care instructions so it still looks good in March
- ✅ A “Make It Your Own” chapter — colour variations, width adjustments, a ribbed version, and how to size up to super bulky yarn
- ✅ A little welcome gift tucked inside, as a thank-you
🧶 Get the Twist Ear Warmer pattern
Download the PDF pattern here →
Instant download. Print it or keep it on your phone. Yours forever.
Not Ready to Buy Yet?
No problem at all. Join my newsletter and I’ll send you a welcome coupon for your first pattern, plus new beginner-friendly patterns as they land. No spam, just crochet.
Tips & Care
A few things worth knowing, whichever pattern you end up making.
Keep your tension relaxed. New crocheters almost always work too tightly, usually because they’re concentrating. If your hook is fighting to get into the next stitch, loosen your grip rather than forcing it. Bulky yarn is forgiving, but tight stitches make a stiff band.
Count at the end of every row. It takes five seconds and catches a dropped stitch immediately, rather than fifteen rows later when the edge has visibly gone wonky.
Don’t fear frogging. Pulling work back out is a normal part of crochet, not a failure. Slide the hook out, pull the yarn, stop where you want to be, and put the hook back in. It’s just yarn.
Washing. Acrylic is machine washable — cold, gentle cycle. Lay it flat to dry and reshape while damp. Skip the tumble dryer and don’t press a hot iron directly onto acrylic; high heat flattens the fibres permanently.
Blocking is optional here. A light steam held above the fabric, or a spritz of water and a gentle reshape, will even out your stitches if you want it. The band works perfectly well unblocked.
Patterns You Might Love Next
If this one goes well, here’s where to go from here:
- Slip Stitch Beanie Pattern — the natural matching piece. Make both in the same yarn for a winter set, or give them as a pair.
- Crochet Hooded Scarf Pattern — another beginner-friendly winter make, and a lovely step up in size.
- Cozy Fall & Winter Pattern Bundle — several winter patterns together at a better price than buying singly.
Frequently Asked Questions
Can an absolute beginner really make this? Yes. Single crochet is the only stitch, every row is identical, and the PDF teaches the stitches from scratch with a stitch count on every row so you can verify your own work.
How long does it take? About one to two hours for most people. Bulky yarn on a large hook covers ground quickly.
How much yarn do I need? Roughly 50–70 yards of bulky (category 5) yarn — comfortably under one standard skein.
Will it fit my head? Yes, because you fit it as you go. You crochet until the band is the right length and try it on before seaming, so it works for adult, teen and child heads alike.
Is the twist hard to do? No. You fold each end in half and slip one halfway through the other, then sew. It’s a fold-and-sew trick, not a stitch technique, and the PDF breaks it into eight photo-guided steps.
Can I use a different yarn weight? You can. Super bulky makes a thicker, faster band — you’ll want a larger hook and a slightly shorter starting chain. The PDF’s variations chapter covers how to adjust.
Can I sell what I make? Yes — finished items are welcome to sell. The pattern file itself is for personal use, not resale or sharing.
Your Turn
There’s a particular feeling that comes with finishing your first crochet project — not a swatch, not a half-thing in a basket, but an actual object you can put on your head and walk out the door in. This pattern is designed to get you there in one evening.
If you make one, I’d love to see it. Tag @crochetmoderndesign so I can cheer you on — and if you’re on the fence about whether you’re “ready,” you are. One stitch. One rectangle. One fold.
Happy crocheting, Elowen 🧡 Crochet Modern Design