


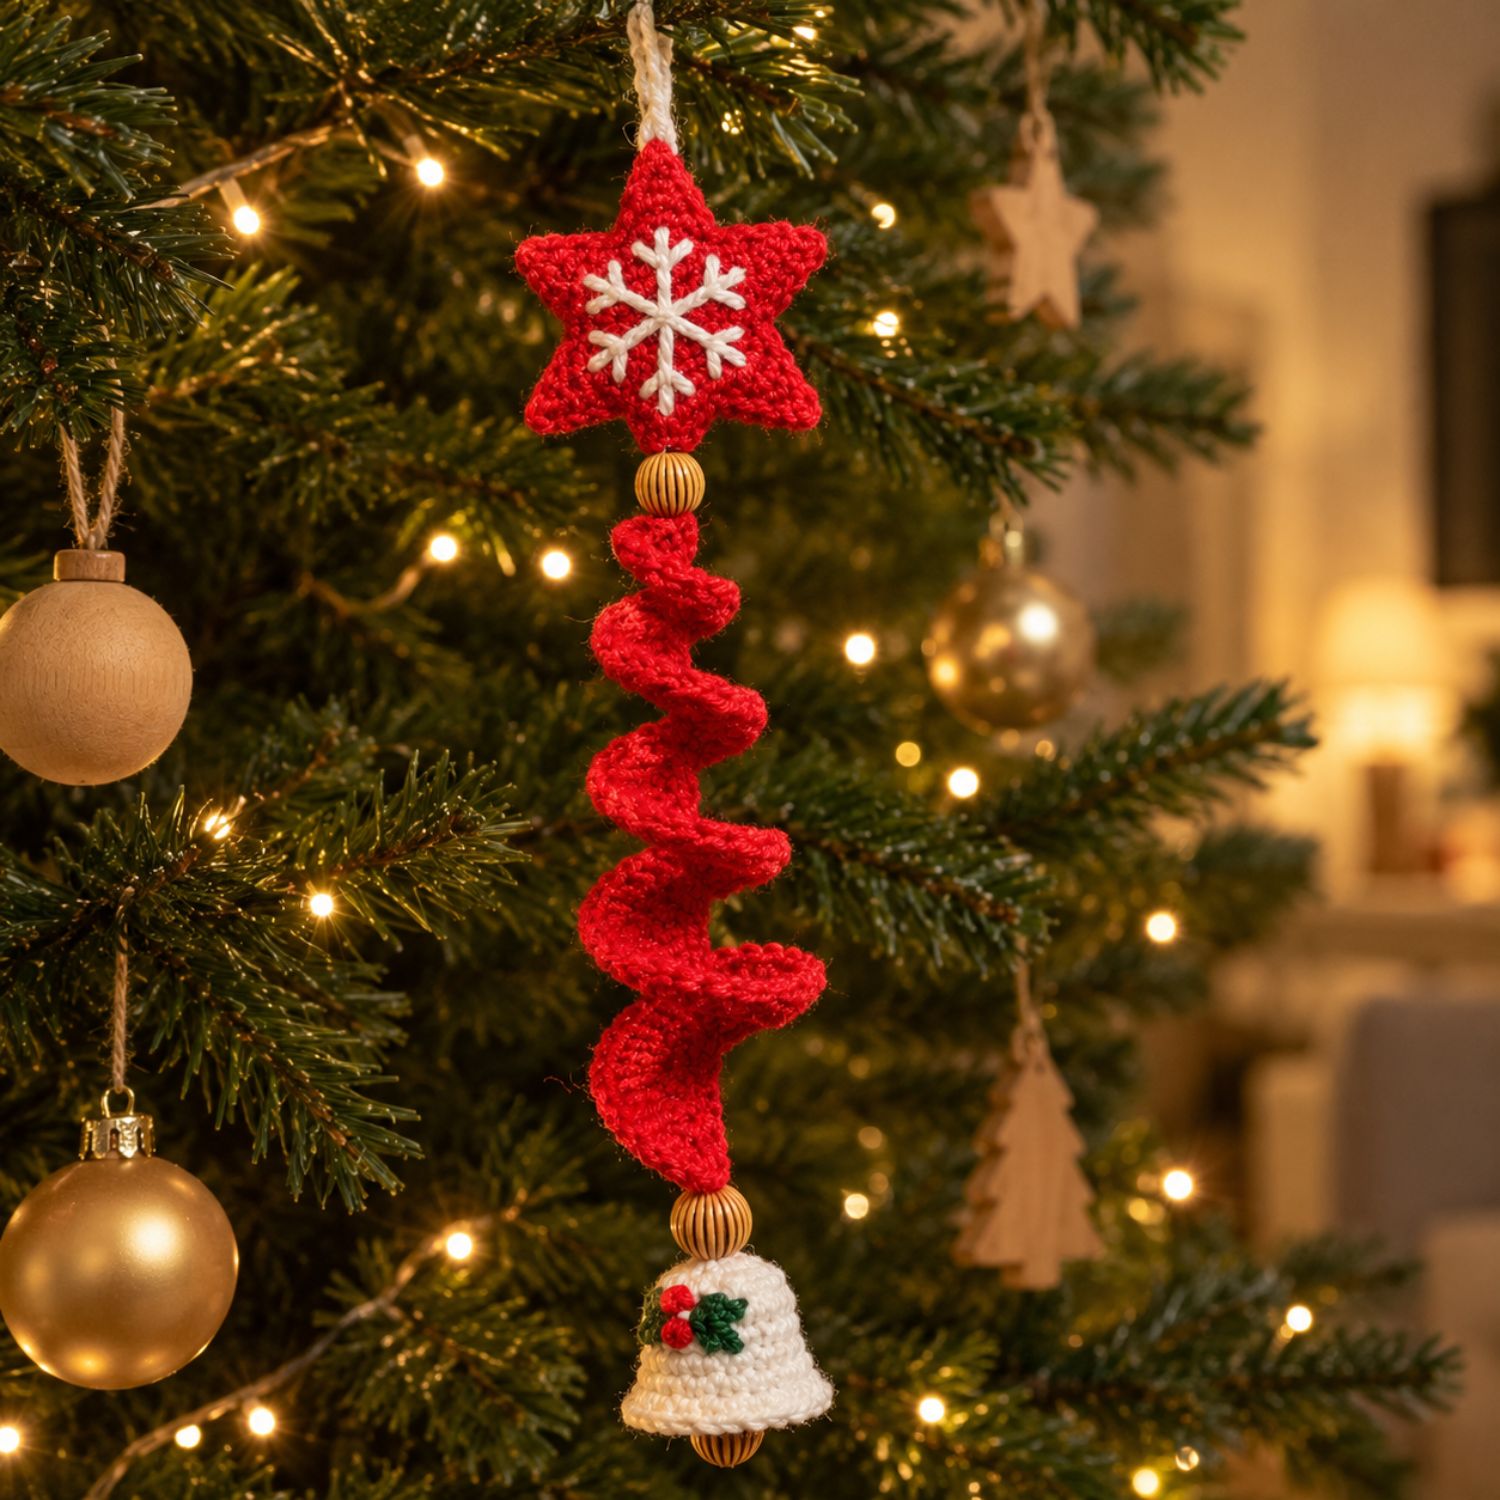
If you’ve scrolled past a window full of twirling, spiralling Christmas decorations this season and wondered how on earth they’re made, this one is for you. Today I’m going to show you how to crochet a Christmas wind spinner: a bright red corkscrew spiral with a six-point snowflake star on top and a little holly bell at the bottom. It turns gently every time someone opens the door, and you can make one in an evening.
Here’s the part that surprised me when I first made one. That spiral looks like it needs wire, stiffener or some clever trick. It doesn’t. It’s one row of ordinary stitches that twists itself. I’ll show you exactly why in the free mini tutorial below, so you can try the technique tonight with any scrap of yarn.
🧶 Want the full pattern? Get the Christmas Star Wind Spinner Pattern PDF. It has exact stitch counts for every row and round, step-by-step photos for the spiral, star, bell and assembly, the snowflake and holly embroidery guide, a printable summary card, and troubleshooting. Instant download.
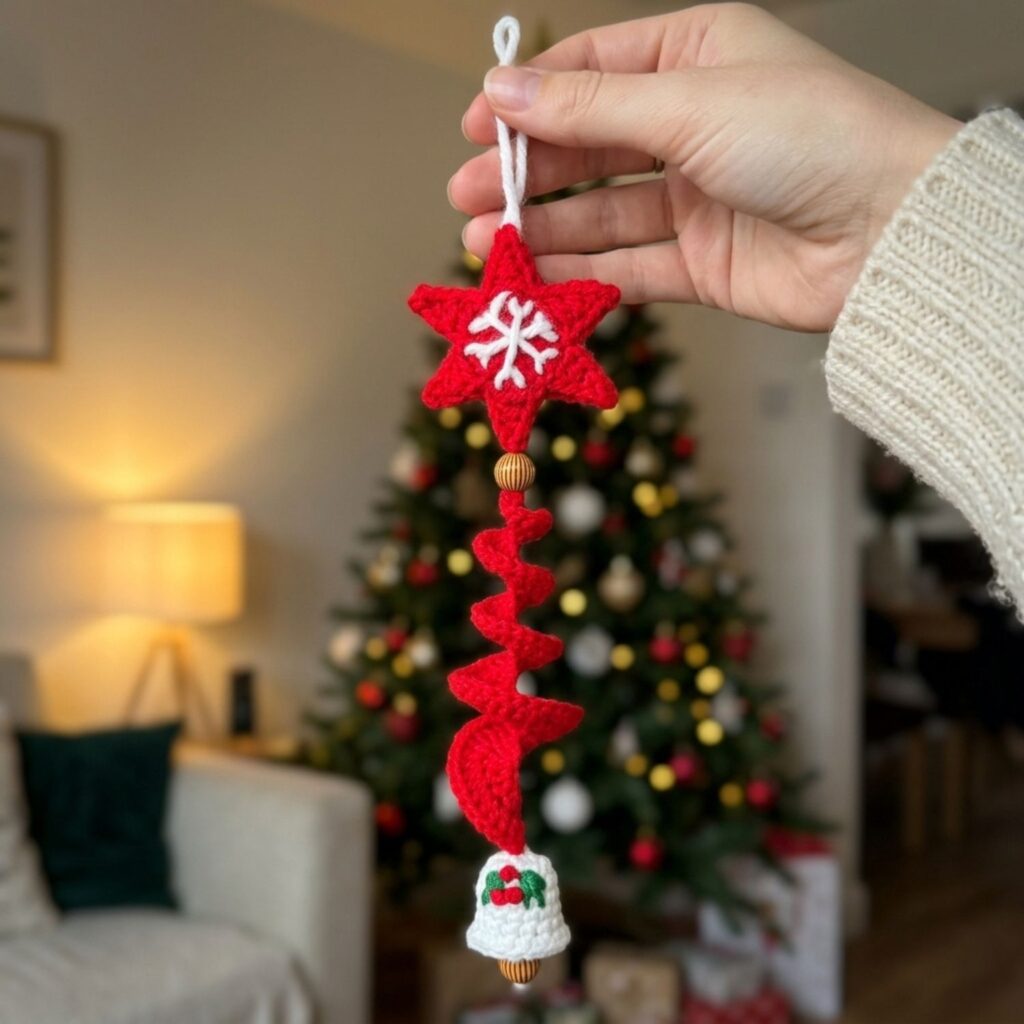
Quick info
| Skill level | Beginner-friendly |
| Time to make | One evening |
| Hook size | 2.5 mm or 3 mm |
| Yarn | 3-ply (fine / sport weight): red, white, a little green |
| Stitches used | Chain, slip stitch, single crochet, half double crochet, double crochet, magic ring |
| Finished size | Approx. 20–25 cm (8–10 in) from loop to bottom bead |
| Best for | Windows, Christmas trees, door handles, gift toppers, craft fairs |
What is a crochet Christmas wind spinner?
A wind spinner is a hanging decoration with a spiral in the middle that turns in the lightest draught. Garden spinners are usually metal, but crochet versions have become one of the most popular Christmas makes of 2026. They’re soft and colourful, and you can make them in an evening from leftover yarn.
My Christmas Star Wind Spinner has three parts:
- A star at the top, made of two layers joined together, with a white snowflake embroidered on the front
- A spiral in the middle, tight and ruffled at the top and opening into wide swirls towards the bottom
- A little white bell at the bottom, embroidered with holly leaves and red berries, with a wooden bead peeking out like a clapper
Everything hangs from a simple yarn loop, with a wooden bead between the star and the spiral.
Why this wind spinner is perfect for beginners
A lot of the spiral and spinner patterns around right now are amigurumi: snowmen, gnomes and Santas worked over a wire core, with safety eyes, stuffing and lots of colour changes. They’re lovely, but they’re not where I’d send someone who is still finding their feet.
This one is different:
- No wire, no stiffener, no stuffing. The spiral gets its shape from the stitches themselves.
- Small pieces. Every part works up in minutes, so you see progress straight away.
- Real skills you’ll use again. You’ll practise the magic ring, working in the round, working back along a chain, and two simple embroidery stitches.
- Forgiving. If your spiral comes out a little bigger or smaller than mine, it still looks lovely.
New to reading patterns? Have a look at my guide to reading crochet patterns and abbreviations before you start.
Materials you’ll need
🛒 Everything in one place → Shop my Amazon storefront for the yarn, hooks, beads and glue gun I use.
- 3-ply (fine / sport weight) yarn: about 10–15 g of red for the star and spiral, 5 g of white for the bell and snowflake, and a few metres of green for the holly. A smooth yarn twists into a much neater spiral than a fuzzy one. My picks are a 3-ply milk cotton colour pack, which is perfect when you want to make spinners in several colours, and Scheepjes Catona for crisp stitch definition.
- A 2.5 mm or 3 mm crochet hook. Use 2.5 mm if you crochet loosely and 3 mm if you crochet tightly.
- 2 wooden beads, about 10–12 mm, with a hole big enough for your yarn.
- A mini hot glue gun or thick craft glue, to join the two stars.
- A yarn needle and scissors.
- Optional: a small gold jingle bell if you’d like your spinner to make a sound.
The stitches you’ll use
- Magic ring (MR): an adjustable loop you crochet into, then pull closed. The star and bell both start here.
- Chain (ch): the foundation of the spiral, and the base of each star point.
- Slip stitch (sl st): joins rounds and anchors the star points.
- Single crochet (sc): the shortest working stitch. It makes the tight curls of the spiral and the body of the bell.
- Half double crochet (hdc): a medium-height stitch for the middle of the spiral.
- Double crochet (dc): the tallest stitch here. It makes the wide swirls and the star’s centre.
- Straight stitch and French knot: the only two embroidery stitches you need, for the snowflake and the holly berries.
The pattern is written in US terms. The PDF includes a US/UK conversion chart.
Free mini tutorial: how a crochet strip twists itself into a spiral
This is the heart of every crochet wind spinner, and once you understand it you can make spirals for garlands, bookmarks and hair ties too. Grab any scrap yarn and a hook, and try this little practice swatch.
Step 1 — Make a short chain. Chain about 20. The exact number doesn’t matter for practice.
Step 2 — Work 2 single crochet into every chain. Start in the second chain from the hook and work 2 sc into each chain all the way back along it. Don’t skip any.
Step 3 — Watch what happens. By the time you reach the end, your strip will be curling and twisting in your hand. That’s exactly what you want.
Why it twists
You’re squeezing twice as many stitches onto the top edge as there is room for along the bottom edge. The bottom edge stays the length of your chain, but the top edge becomes twice as long. It has nowhere to go except round and round, so the strip twists into a corkscrew.
Why the stitch height matters
Now try a second practice strip, this time with 2 double crochet in every chain. You’ll get much wider, looser swirls. Taller stitches make bigger loops, and shorter stitches make tight little curls.
That’s the whole design secret behind the Christmas Star Wind Spinner. The spiral moves from tall stitches to short ones along a single chain, so it’s wide at one end and tightly curled at the other. Then a second pass adds extra ruffle to the narrow end. The exact stitch counts for each section are in the PDF, so your spiral matches the photos.
The trick for a neat corkscrew
When your strip is finished, roll it up tightly like a little cinnamon roll, squeeze it for 10–15 seconds, then let go and hold it up by one end. It springs open into a neat, even corkscrew. If you want it really crisp, keep it rolled up with a clip for an hour first.
[IMAGE 4 — the spiral rolled up tightly, then released into a corkscrew]
How the Christmas Star Wind Spinner is built
Here’s the shape of the whole project, so you know what you’re making before you start.
The spiral. You start with a short foundation chain and work down it in three sections: double crochet, then half double crochet, then single crochet, with 2 stitches in every chain. Then you turn and work a second pass over the narrow half only, which makes that end extra full and ruffled. You roll it, release it, and your corkscrew is done.
The star (make 2). Each star begins with a magic ring and one round of double crochet. Then you make six points by chaining up and working back down the chain with stitches that get taller as you go. That’s what gives each point a sharp tip and a wide base. One star gets a snowflake embroidered on the front; the other becomes the back.
The bell. The bell is worked from the top down in joined rounds of single crochet. It starts as a small circle, grows into a little cup, then flares out at the rim in the last round. A sprig of holly is embroidered on one side.
Putting it together. The spiral is threaded through a wooden bead and sewn to the bottom point of the back star. A white yarn hanging loop goes on top, and the two stars are glued together so every knot and join is hidden inside. The bell is sewn to the wide end of the spiral, with a second bead hanging inside it as a clapper.
The snowflake and holly: embroidery for beginners
If you’ve never embroidered on crochet before, this is the perfect place to start. You only need straight stitches: bring the needle up at one point, take it down at another, and you’ve made a line.
The snowflake is three long lines crossing in the centre to make six arms, with a tiny “V” near the end of each arm. The holly is two or three little leaves made from a few stitches fanned side by side, with two or three red berries where they meet. The PDF walks you through exactly where to place each stitch so it lines up with the star’s points.
[IMAGE 6 — close-up of the white embroidered snowflake on the red crochet star]
[IMAGE 7 — close-up of the white crochet bell with green holly leaves and red berries]
What’s inside the PDF
The Christmas Star Wind Spinner pattern is a full beginner-friendly ebook with:
- The complete written pattern in US terms, with a stitch count at the end of every row and round
- Step-by-step photos for the spiral, the star points, the bell, the embroidery and the assembly
- How to shape and set the spiral so it keeps its curl all season
- The snowflake and holly embroidery guide
- Every stitch explained for beginners, plus an abbreviations list and a US → UK chart
- A printable one-page Pattern Summary Card
- A troubleshooting guide: flat spirals, squashed star points, bells that won’t flare, glue that shows, and more
- Variation ideas, including colourways, a candy-cane spiral, a jingle bell, a garland and gift toppers
- Care and safety notes
- A little welcome gift inside 🧡
🌟 Get the Christmas Star Wind Spinner Pattern PDF Download the pattern here. It’s an instant download, so you can start crocheting tonight.
Make it your own
Once you’ve made your first spinner, the fun really starts:
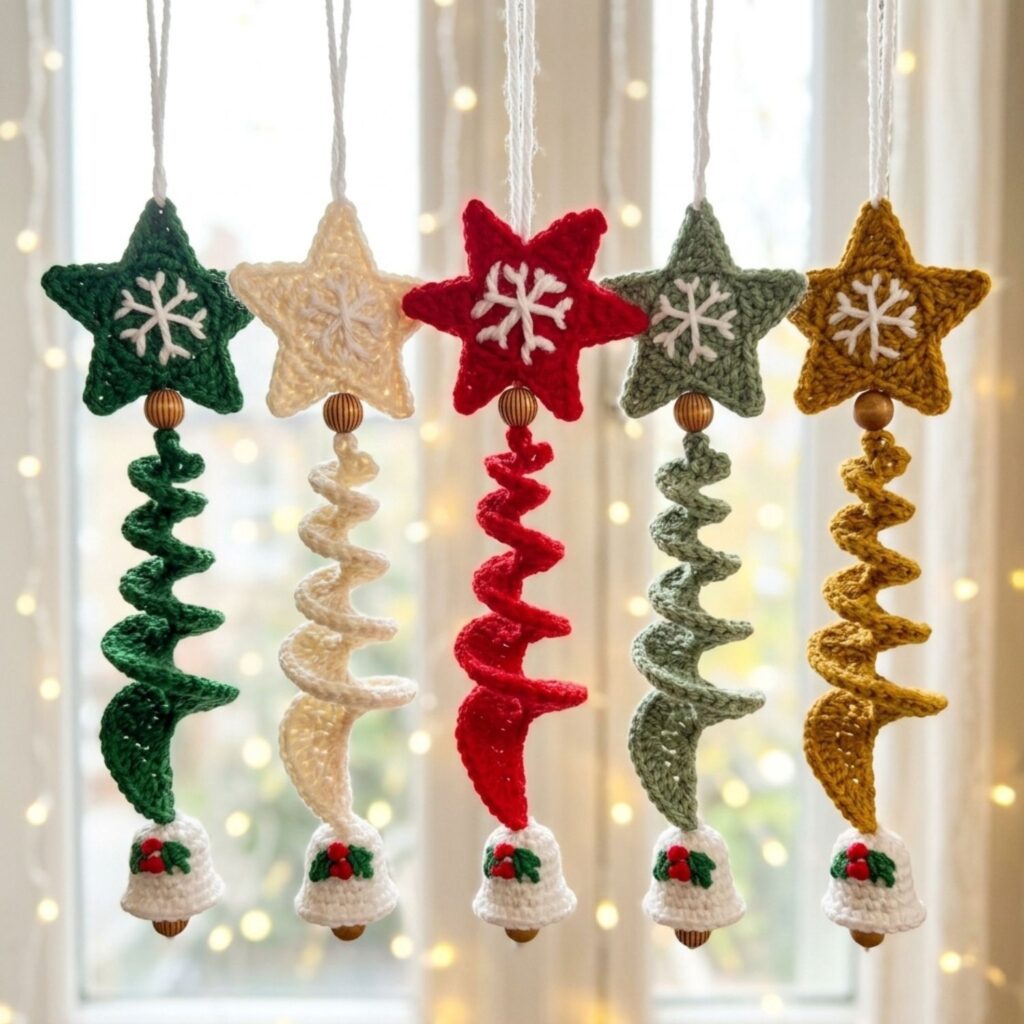
- Change the colours. Forest green, cream, sage and mustard gold all look beautiful. A whole window of them in different colours is a sight.
- Make a candy-cane spiral. Work the second pass in white so the ruffled edge stripes.
- Add a jingle. Swap the bottom bead for a small gold bell.
- Make a garland. Tie five or six spinners along a ribbon across a window or mantel.
- Use it as a gift topper. Tie a star and bell onto a present: a gift and an ornament in one.
Tips for a wind spinner that keeps its shape
- Choose a smooth yarn. Fuzzy or very soft yarns blur the spiral and relax faster.
- Keep your tension firm. A firm fabric holds its curl. If your spiral looks floppy, go down a hook size.
- Hang it indoors, or in a covered porch out of the rain.
- Keep it away from heat. Radiators and candles can soften hot glue.
- Store it loosely coiled in a small box after Christmas. If the curls relax, roll it up and clip it for an hour.
- Keep it out of reach of babies, young children and pets. It has small beads and glued parts, so it’s a decoration, not a toy.
Get new patterns and a welcome gift
Join the Crochet Modern Design newsletter for new beginner-friendly patterns, free tutorials like this one, and a welcome discount on your first pattern.
More Christmas patterns you’ll love
- Spiral Christmas Tree Ornament: the same spiral magic, shaped into a little beaded tree
- How to Crochet a Spiral Christmas Ornament: my free tutorial on stiffening and shaping a crochet spiral
- Crochet Christmas Tree Ornament: a layered tree that’s perfect for scrap yarn
Frequently asked questions
Is a crochet wind spinner hard to make?
Not at all. If you can chain, single crochet and double crochet, you can make this Christmas wind spinner. The spiral twists by itself, and every piece is small and quick.
How long does it take to crochet a Christmas wind spinner?
Most makers finish one in an evening. Once you’ve made the first, the next ones go even faster.
Do I need wire or stiffener to make the spiral hold its shape?
No. The spiral twists because you work 2 stitches into every chain. Rolling it up and letting it spring open sets a neat corkscrew, and no glue, stiffener or wire is needed for the spiral.
What yarn is best for a crochet wind spinner?
A smooth 3-ply (fine / sport weight) cotton or cotton-blend with a 2.5 mm or 3 mm hook. You only need small amounts, so it’s a great way to use up scraps.
Can I sell the wind spinners I make from the pattern?
Yes. You’re very welcome to sell finished spinners you make by hand, and a credit to Crochet Modern Design is always appreciated. Please don’t share or resell the PDF itself.
I’d love to see your spinners. Tag me on Instagram at @crochetmoderndesign or share them in the comments below. A window full of them is my favourite sight of the season.
Happy crocheting, Elowen 🧡