


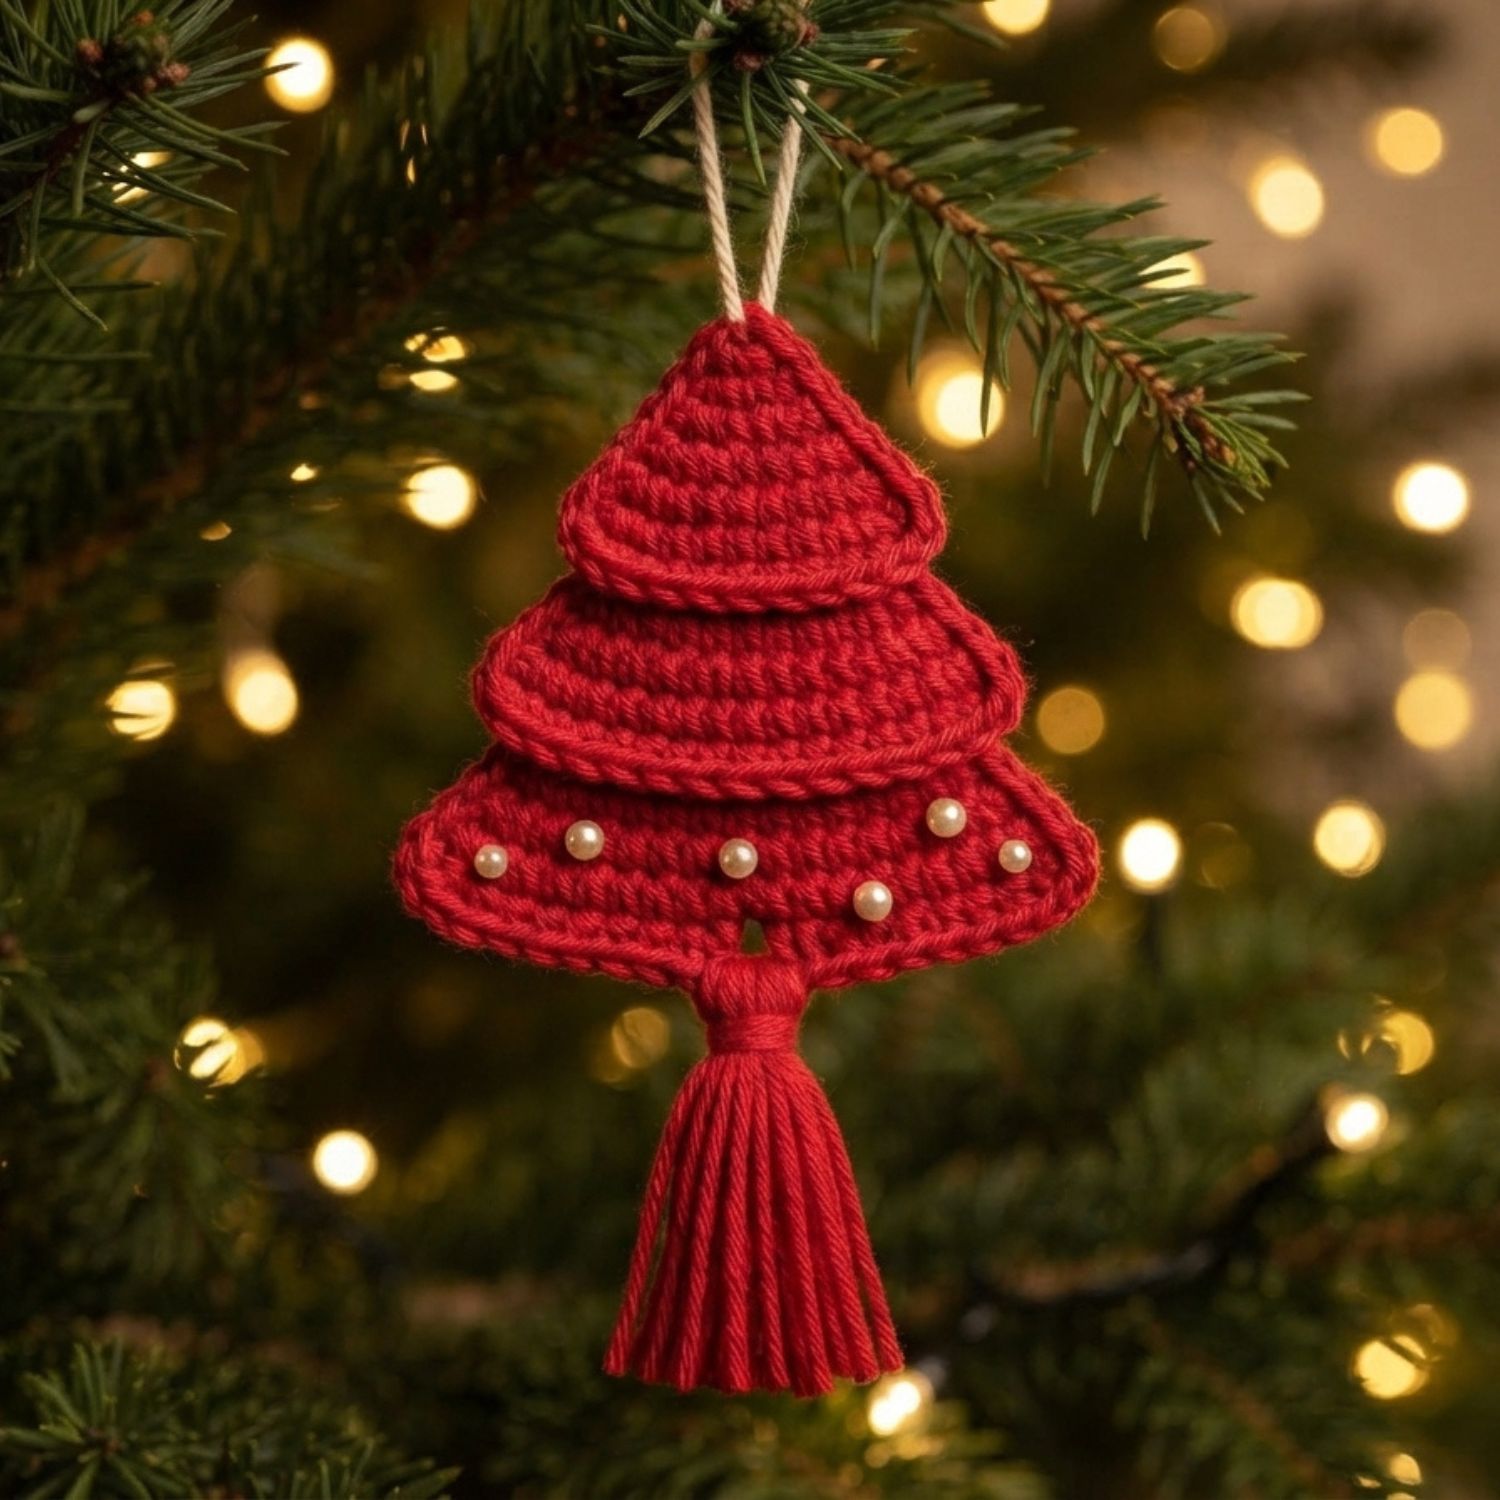
If you have been wanting a Christmas make that is quick, beginner-friendly, and genuinely gift-worthy, this is the one. In this guide I will show you how to crochet a Christmas tree ornament the easy way — a soft, layered little tree built from three flat triangles, with no amigurumi, no stuffing, no wire, and no glue. If you can chain and single crochet, you already have every skill you need.
Each ornament takes about an hour and only 15–20 metres of yarn, so a single ball will make you a whole tree full. By the end of this post you will understand exactly how it comes together — and when you are ready to make it stitch by stitch, the full printable pattern is waiting at the end.
What Makes This Crochet Christmas Tree Ornament Special
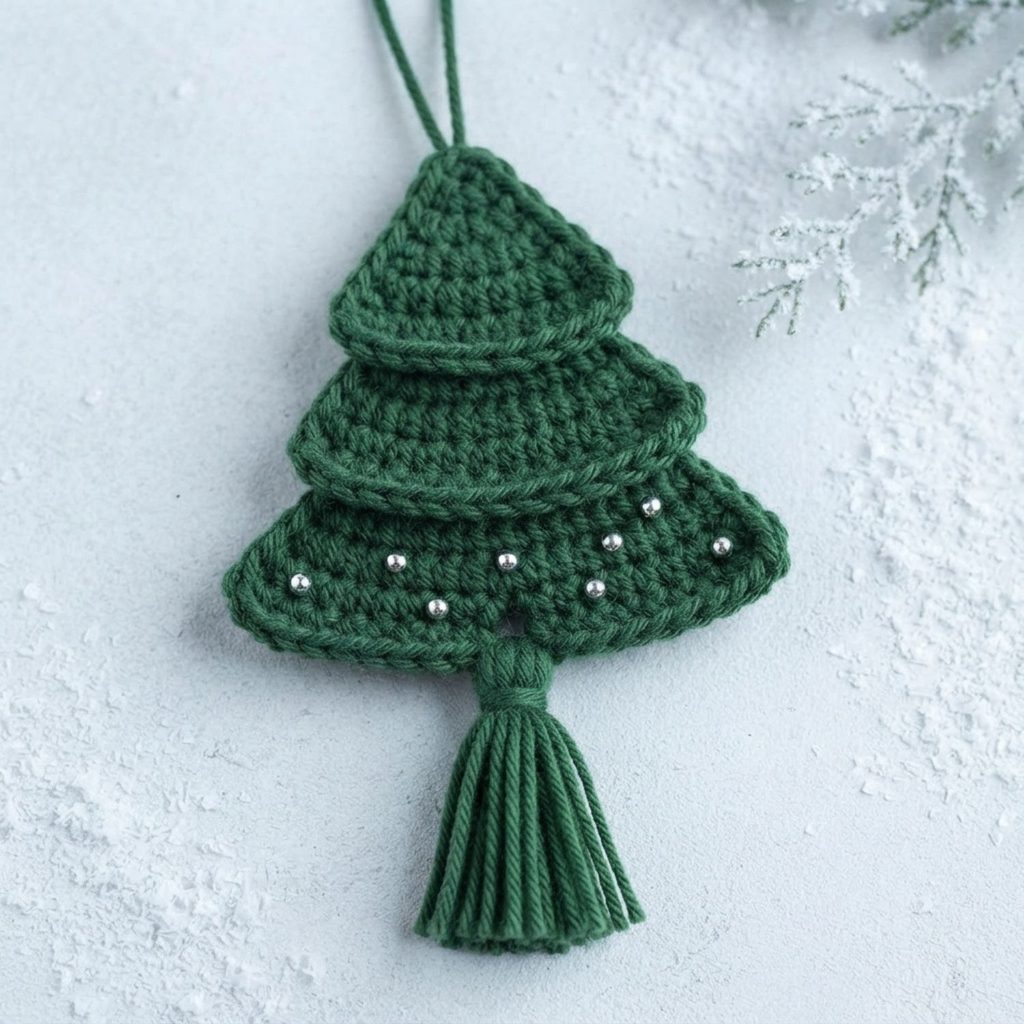
Most crochet Christmas trees are worked in the round and stuffed like a little amigurumi, or they need wire and stiffener to hold their shape. This one is different. It is three flat triangles, worked in simple rows, then stacked and stitched into a soft, dimensional tree — finished with a hanging loop, a swishy tassel, and a scattering of tiny pearl beads.
The look is yours to choose. In cream with pearls it reads quiet and Scandinavian; in traditional green it is pure classic Christmas. Either way, it is flat enough to tuck into a card, light enough for the thinnest branch, and pretty from both sides.
Why It’s the Perfect Beginner Christmas Project
- Only two stitches. Chain and single crochet — that is the whole pattern. No working in the round, no shaping to puzzle over.
- Fast and forgiving. About an hour per ornament, and the rows grow by just one stitch at a time, so it is almost impossible to lose your place.
- Tiny yarn budget. 15–20 metres each — a true scrap-buster. One ball makes a whole set.
- Made to give. Gift toppers, advent gifts, teacher gifts, and craft-fair sets that are quick and cheap to batch.
What You’ll Need
Part of the charm of this ornament is how little it takes to make one. Here is the short list, with a few recommendations if you need to stock up.
- Yarn: Sport-weight yarn (#2, sometimes called 5-ply light), about 15–20 metres per ornament. Cotton gives the crispest, most defined triangles and the prettiest tassel (shop sport-weight cotton on Amazon).
- Hook: A 2.75 mm (US C-2) crochet hook (see 2.75 mm hooks on Amazon).
- Notions: A yarn needle and scissors. Optional but lovely: a handful of small pearl beads for the bottom tier (shop pearl beads on Amazon).
The Stitches You’ll Use
This really is a true first project. You only need two stitches:
- Chain (ch) — the little starting point each triangle grows from.
- Single crochet (sc) — worked back and forth in rows, adding one stitch at the start of each row to form the triangle shape.
New to crochet abbreviations? My beginner’s guide to reading a crochet pattern walks you through every term and the US/UK differences before you start.
How the Ornament Comes Together
Here is the big-picture view — the map, not the turn-by-turn directions. Seeing how it is built makes the full pattern feel effortless when you sit down with it.
You make three flat triangles, each one a little larger than the last — a small top tier, a medium middle tier, and a wider bottom tier. Each starts from a tiny chain and grows outward in simple rows, adding a stitch at the beginning of every row so the sides slope evenly into a triangle.
Once your three triangles are made, you stack them — bottom at the back, middle overlapping it, top on top — and sew through all the layers to join them into one soft, tiered tree. From there you add a chain hanging loop at the peak, tie on a little tassel at the base, and (if you like) scatter a few pearl beads across the bottom tier. That is the whole journey: three triangles, stacked, joined, and finished.
The full pattern walks you through each tier slowly, with the exact stitch count printed at the end of every single row so you always know you are on track.
Tips for a Clean, Professional Finish
- Keep your tension relaxed and even. Tight single crochet makes the triangles curl; loose stitches lose the crisp edges.
- Neaten the sloped edges. A row of slip stitches down each slanted side gives the tiers a tidy, finished outline before you stack them.
- Hide your tails between the layers. Because the tree is stacked, you can tuck and weave every end invisibly between the tiers.
Make It Your Own
Once you have made one, it is hard to stop — and the pattern is built for exactly that. Inside the PDF you will find variations to keep every ornament feeling fresh:
- Three sizes, with the row counts worked out for you.
- Cream-and-pearl for a neutral, Scandinavian look, or green for traditional Christmas.
- Garland, gift-tag, bookmark, and place-card versions of the same little tree.
It is the perfect way to use up every odd end of yarn — one to keep, the rest to give away.
A Handmade Gift That Lands Every Time
This ornament is quick enough to make a whole batch, costs almost nothing in yarn, and looks far more special than it was any trouble to make. Tie one to a wrapped gift, slip one into a Christmas card, or make a set for the makers in your life. For craft fairs and markets it is ideal — fast to produce, easy to price, and it sells beautifully in little sets of three.
Get the Full Step-by-Step Pattern
Ready to make your own? The complete Christmas Tree Ornament pattern is a beautifully laid-out 19-page PDF that takes you from your first chain to a finished, beaded tree with confidence:
- The full written pattern in US crochet terms, with a UK conversion table.
- A step-by-step photo tutorial through every stage, including assembly.
- The stitch count printed at the end of every single row, plus a 12-question troubleshooting section.
- All the variations, a printable summary card, and instant download — plus a little welcome gift inside.
→ Get the Christmas Tree Ornament PDF pattern here. Prefer to shop on Etsy? You will find it in my Etsy shop too.
Common Questions
Is this crochet Christmas tree ornament good for beginners?
Yes — it is a true first-project pattern. You only need two stitches, chain and single crochet. There is no amigurumi, no working in the round, and no stiffening or stuffing.
How long does it take to crochet a Christmas tree ornament?
About one hour per ornament. The rows are short and grow by one stitch at a time, so it works up quickly.
How much yarn do I need?
Only about 15–20 metres (17–22 yards) of sport-weight yarn per ornament, so a single ball makes a whole set. It is a great scrap-buster.
What yarn and hook should I use?
A sport-weight (#2) yarn — cotton gives the crispest triangles — and a 2.75 mm (US C-2) hook. The full materials list is in the pattern.
Can I make it in different colours or sizes?
Yes. The PDF includes three sizes and colour ideas, plus garland, gift-tag, bookmark, and place-card versions of the same tree.
More Christmas Crochet to Try
Want a different look on the same tree? Try my spiral Christmas ornament tutorial for a fun 3D twist, or save with the Winter Crochet Bundle — 5 PDF Patterns. For more beginner-friendly modern patterns and a free welcome gift, browse the full pattern shop.
About the designer: Elowen designs beginner-friendly, modern crochet patterns at Crochet Modern Design — quick, pretty makes that are a joy to give and even nicer to keep. Come say hello and grab your free welcome gift at crochetmoderndesign.com.