


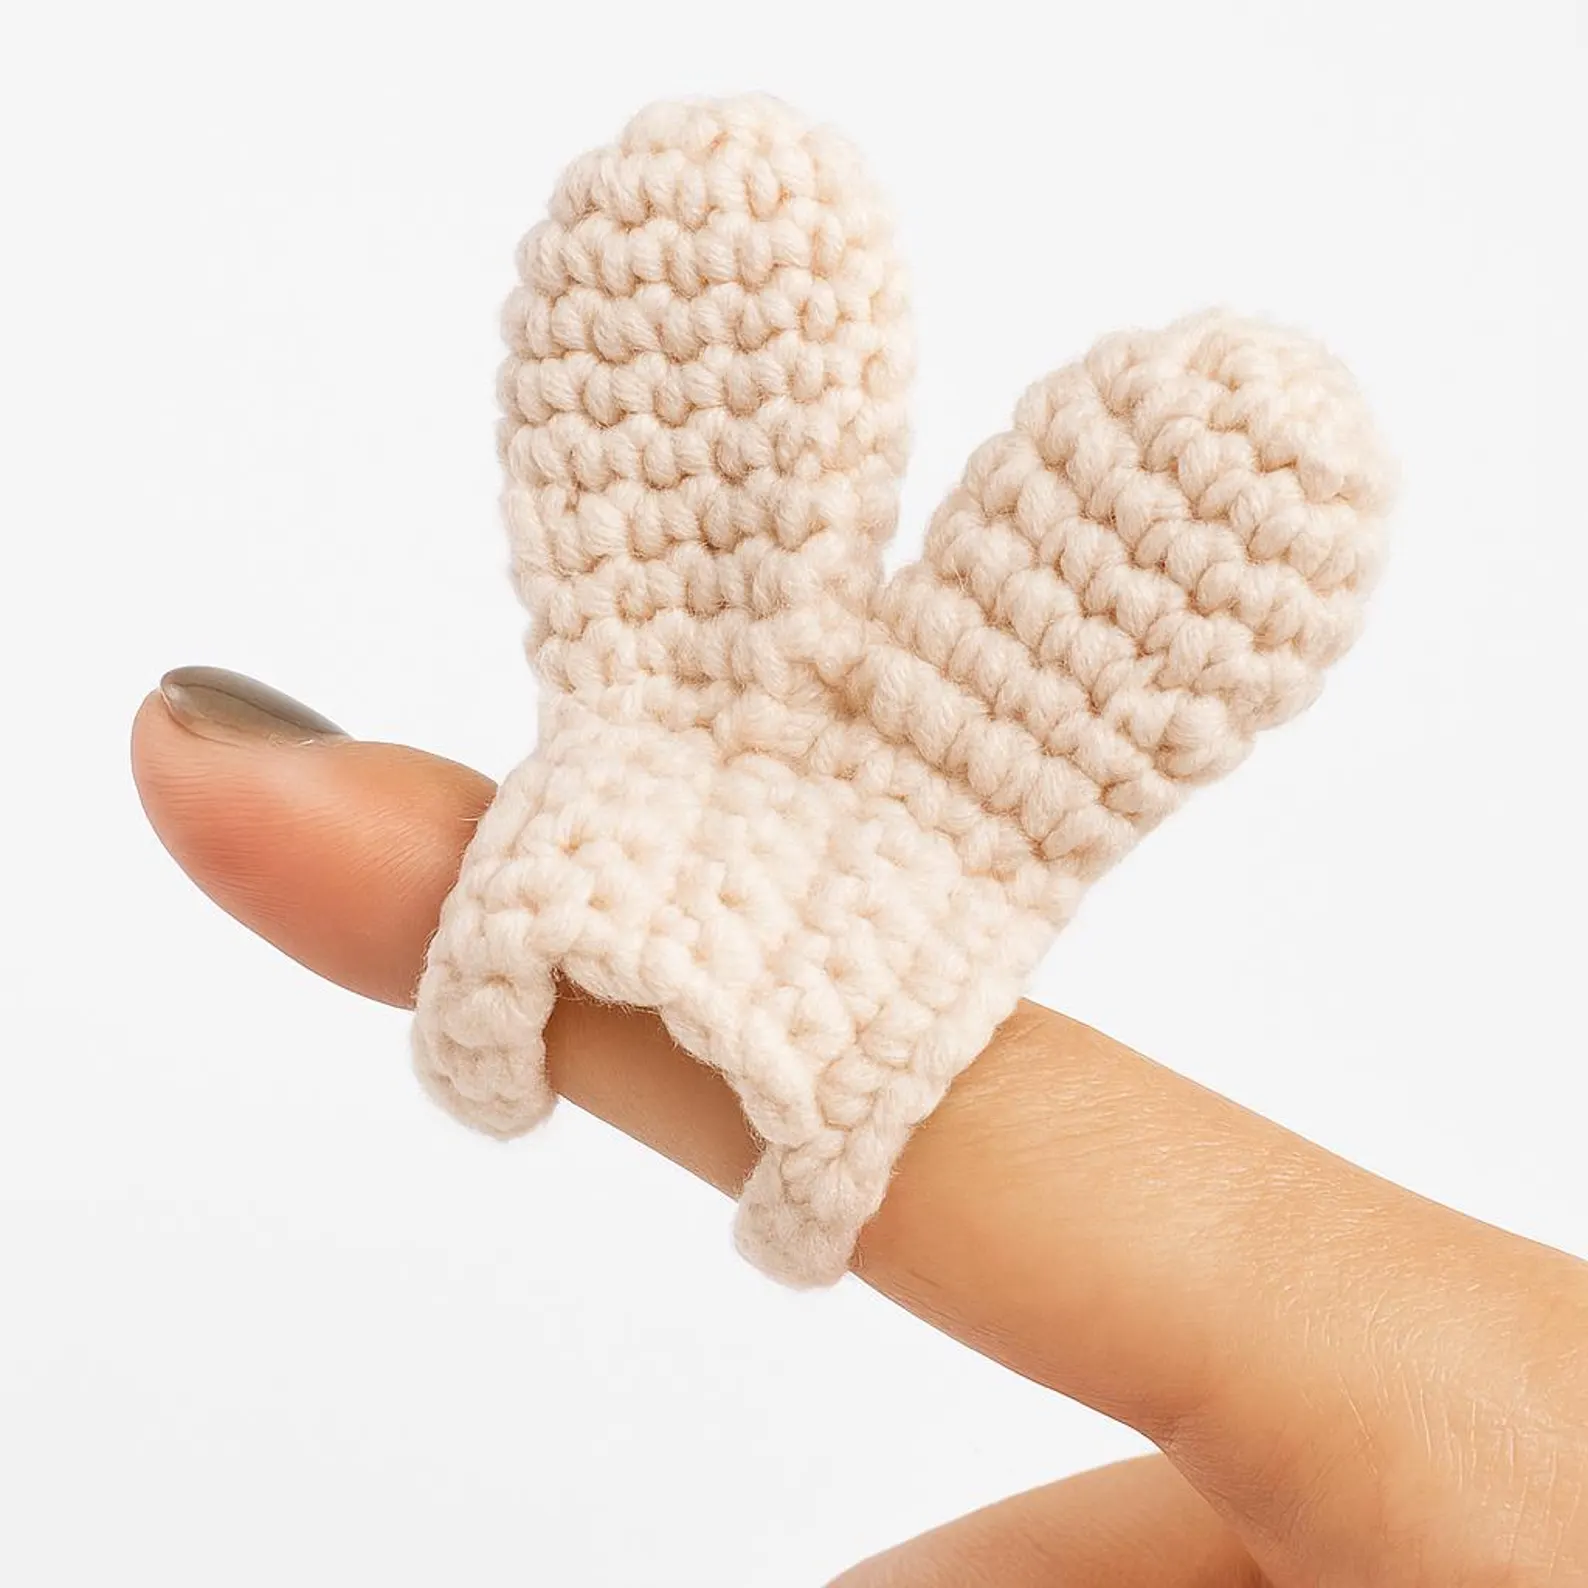
If your index finger gets sore after a long crochet session, or your yarn keeps slipping around while you work, a crochet finger protector is the tiny fix you didn’t know you needed. It cushions your tension finger and keeps your yarn flowing evenly, so you can crochet longer in comfort. And because it’s so quick to make, it’s the perfect little gift for a crafty friend.
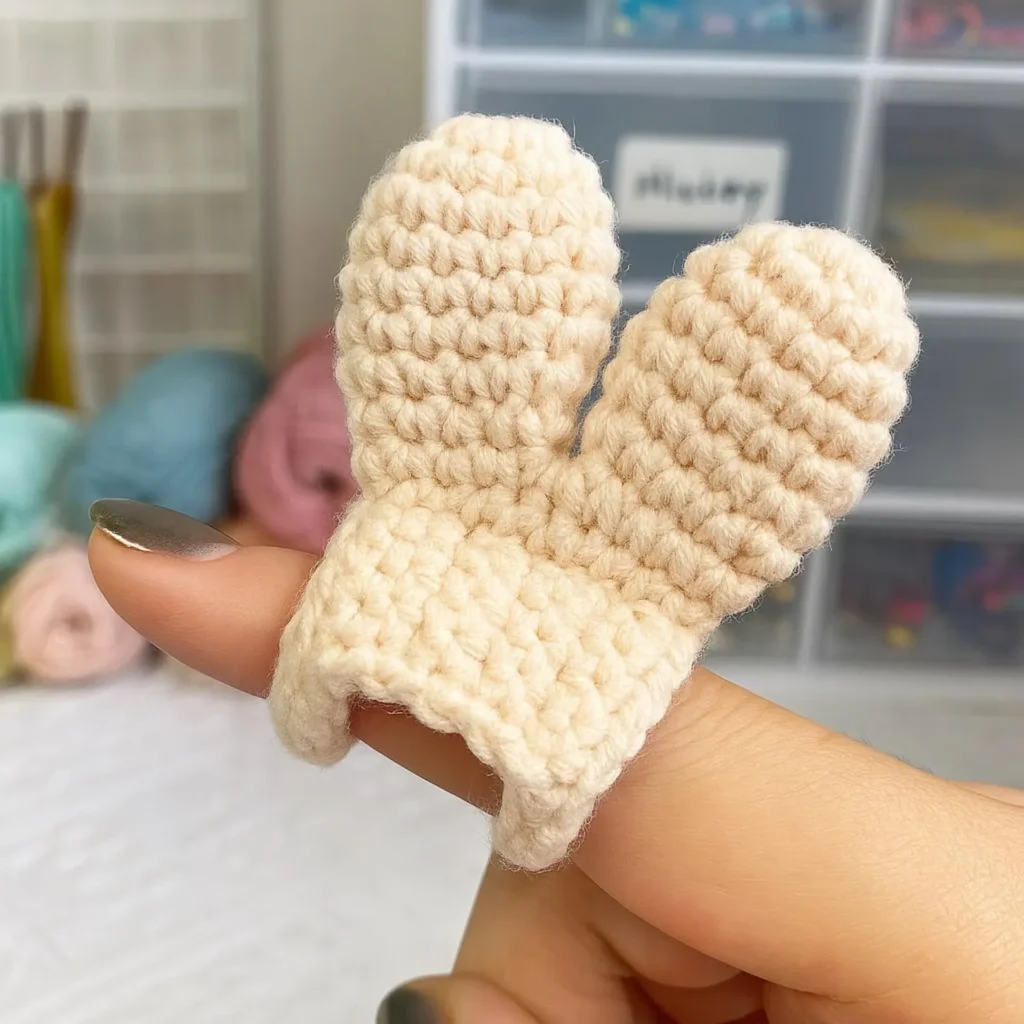
In this free tutorial I’ll walk you through making the finger band itself, step by step. It’s beginner-friendly, uses only basic stitches, and works up in under an hour. Then, if you want the adorable bunny-ears and frog-eyes versions (plus the sizing chart and troubleshooting guide), you’ll find the complete illustrated PDF ready to download.
🧶 Want the full pattern with photos? Get the Crochet Finger Protector Pattern PDF — both the bunny and frog designs, step-by-step photos, a sizing guide and a troubleshooting section. Instant download.
🛒 Shop the exact yarn and tools I use: my Amazon storefront
What is a crochet finger protector?
A finger protector (also called a yarn tension ring or yarn guide) is a small crocheted band that slips onto your yarn-holding finger. It does two jobs at once:
- Cushions your finger from the constant pressure of holding yarn, which is a common cause of sore fingers.
- Keeps your yarn tension even, because the band guides the yarn and stops it sliding around.
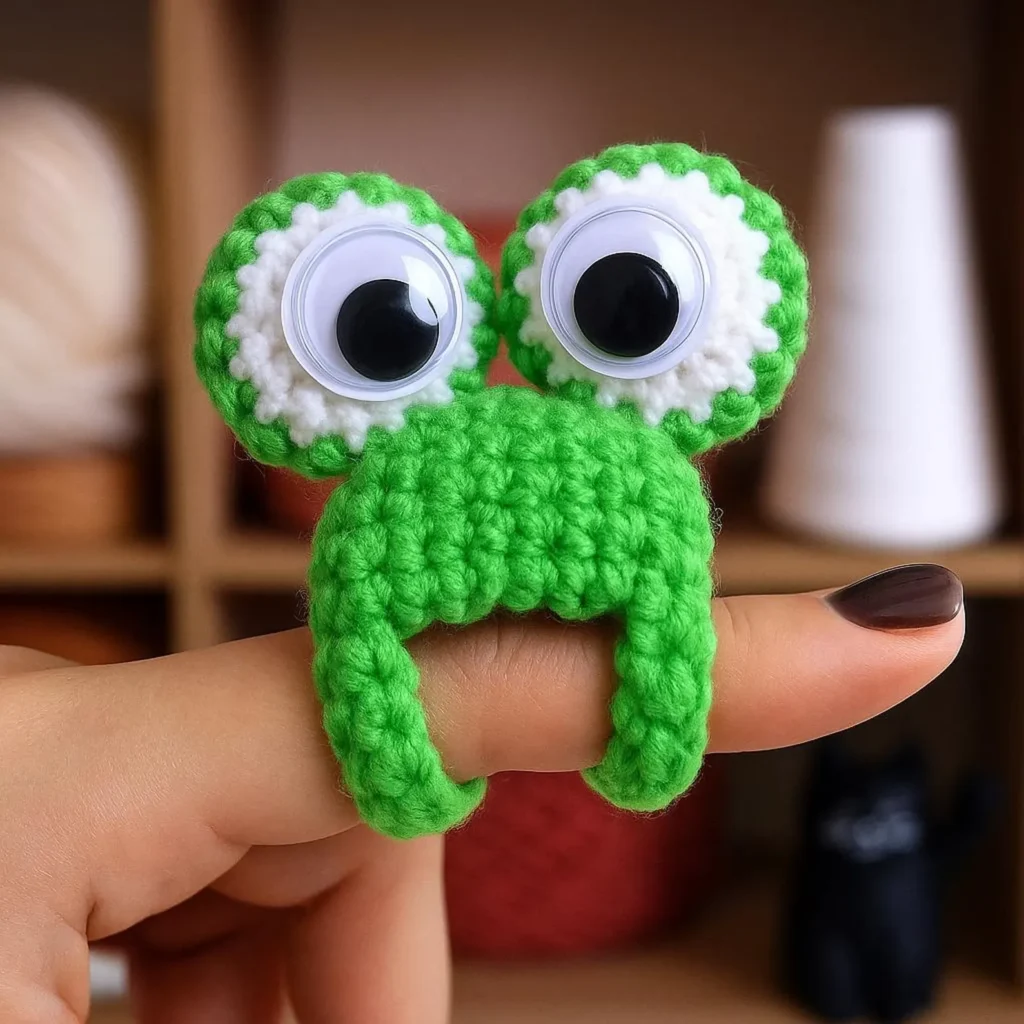
The plain band is useful all on its own. Add a pair of bunny ears or frog eyes and it becomes a cute little accessory that makes people smile, too.
What you’ll need
This is a true stash-buster. You only need scraps.
- Yarn: a small amount of worsted weight (size 4) yarn for the band. Choose something soft against your skin. Cotton or an acrylic blend both work well. (For the frog version you’ll also want white, green and black.)
- Hook: a 3.5–4mm crochet hook, sized to your yarn.
- Notions: a yarn needle, scissors and a stitch marker (a safety pin or paper clip works).
Skill level: Beginner. Time: 1–2 hours for the whole thing, less for just the band.
Crochet abbreviations used
This tutorial is in US crochet terms.
- ch = chain
- sc = single crochet
- sl st = slip stitch
- yo = yarn over
- dec = decrease
- FLO = front loop only
New to reading patterns? My How to Read a Crochet Pattern and Abbreviations guide explains all of these.
Part 1: Crochet the finger band (free step-by-step)
The band is the heart of the finger protector. Here’s the whole thing.
Round 1: Your foundation chain
- Chain about 14 stitches. This is a starting point; you’ll adjust it to your own finger in a moment.
- Wrap the chain around your index finger where you want the protector to sit. There should be a gap of about 2 chains’ worth of space; that little bit of extra room matters.
- Write down how many chains you made — you’ll need that number again.
- Straighten the chain and make sure it isn’t twisted.
- Insert your hook through the first chain you made (the loop closest to the top) and sl st to join into a circle.
- Tighten your working yarn slightly so the join looks neat. Round 1 done!
💡 Tip: If the chain fits your finger perfectly right now, it’ll be too tight once you add the next round. Always leave that little gap.
Round 2: Build the structure
- Ch 1.
- Starting in the loop next to the slip stitch, sc in each chain around.
- Place a stitch marker in your first sc.
- Continue until you have the same number of sc as your original chain count.
- Sl st to the marked stitch to join.
💡 Tip: Try it on now. If the fit is off, it’s much easier to start over at this stage than after the whole thing is finished.
Rounds 3–7: The cushioned pad
This is the padded section that sits over the top of your finger. Instead of working all the way around, you’ll work back and forth in short rows, like a little rectangle.
- Ch 1, work 9 sc. Don’t continue around — flip your work.
- Ch 1, work 9 sc back across. Flip again.
- Repeat, flipping and working 9 sc each time, for 5 rows total.
💡 Tip: Think of this part as crocheting a small rectangle. You’re going back and forth, not in a circle.
Join the pad back into a ring
- After your 5th row of 9 sc, don’t flip.
- Ch 5 (or until the chain reaches around to complete the circle). Hold it against your finger — it should be about 2 chains longer than your finger’s circumference.
- Write down this chain count too.
- Position the chain upright and sl st to join to the first stitch of the row. Make sure it isn’t twisted.
Final round and finishing
- Ch 1, work 9 sc across the row. Mark your first stitch.
- Then sc in each chain loop (the ones closest to the top) around.
- Sl st to the first marked stitch to join.
- Leave a long tail and cut your yarn. Try it on to check the fit!
- Weave in your ends: flip the band inside-out, sl st into a nearby loop to secure, weave the tail through several loops, and snip. Flip it right-side out.
Your finger band is complete. It already works as a plain, comfy yarn guide. Now for the fun part.
Part 2: Add the cute bunny ears or frog eyes
Here’s where your finger protector gets its personality. In the full PDF pattern I walk you through both decorations with photos for every round:
- 🐰 Bunny ears — worked from a magic ring with a simple front-loop decrease to shape the ears. Angle them slightly outward for the cutest look.
- 🐸 Frog eyes — a white center with a neat color change to green, a tidy trick for hiding your tails as you go, and two options for adding the pupils (sewn or glued).
- Assembly — exactly how to fold the band and position and sew your decoration on so it’s secure and sits just right.
🎁 Get the complete illustrated pattern: the Crochet Finger Protector Pattern PDF includes both bunny and frog designs, step-by-step photos, a sizing guide for any finger, and a troubleshooting section. Grab it here →
Tips for the best finger protector
- Choose a soft yarn. It sits against your skin for hours, so comfort matters more than color here.
- Don’t skip the try-on checks. Fit is everything with such a small piece. Check at the end of Round 2 and again before finishing.
- Leave the gap. That extra couple of chains is what keeps the finished band from being too tight.
- Make a few at once. They’re so quick that a set makes lovely, useful gifts for crochet friends.
Frequently asked questions
What does a crochet finger protector do?
It cushions the finger you hold your yarn with and keeps your tension even, so your hand stays comfortable during long crochet sessions and your stitches stay consistent.
Is this a good project for beginners?
Yes. The band uses only chain, single crochet and slip stitch, and it’s a quick, satisfying first project.
What yarn should I use?
A small amount of soft worsted-weight (size 4) yarn and a 3.5–4mm hook. Cotton or acrylic blends feel nice against the skin.
Will it fit my finger?
Yes. You measure against your own finger as you go, and the full PDF includes sizing instructions for any finger.
Can I sell finger protectors I make?
Finished items are fine to sell. The pattern itself is for personal use, not resale or redistribution.
More quick crochet projects you’ll love
- Crochet Finger Protector Pattern PDF — the complete bunny + frog pattern
- How to Read a Crochet Pattern and Abbreviations
- Crochet Cup Cozy Pattern — another 30-minute make
- How to Crochet a Spiral Christmas Ornament
Happy hooking!
Elowen Crochet Modern Design
This post contains affiliate links. If you buy through them, I may earn a small commission at no extra cost to you. It helps me keep sharing free tutorials.